
That water cooler sitting quietly in the corner of your kitchen or office looks harmless enough. But I promise you, it’s hiding a secret life you really don’t want to think about while filling up your glass.
I learned this the hard way after I finally cleaned mine and found a layer of slime that made me question every sip I’d taken in the past six months.
Here’s the truth: your water dispenser needs regular cleaning, and skipping it turns a health-conscious habit into a hidden risk.
Let’s talk about why this happens, how bad it can actually get, and what you can do about it before your “clean” water starts working against you.
Why Your Water Dispenser Is a Bacteria Magnet
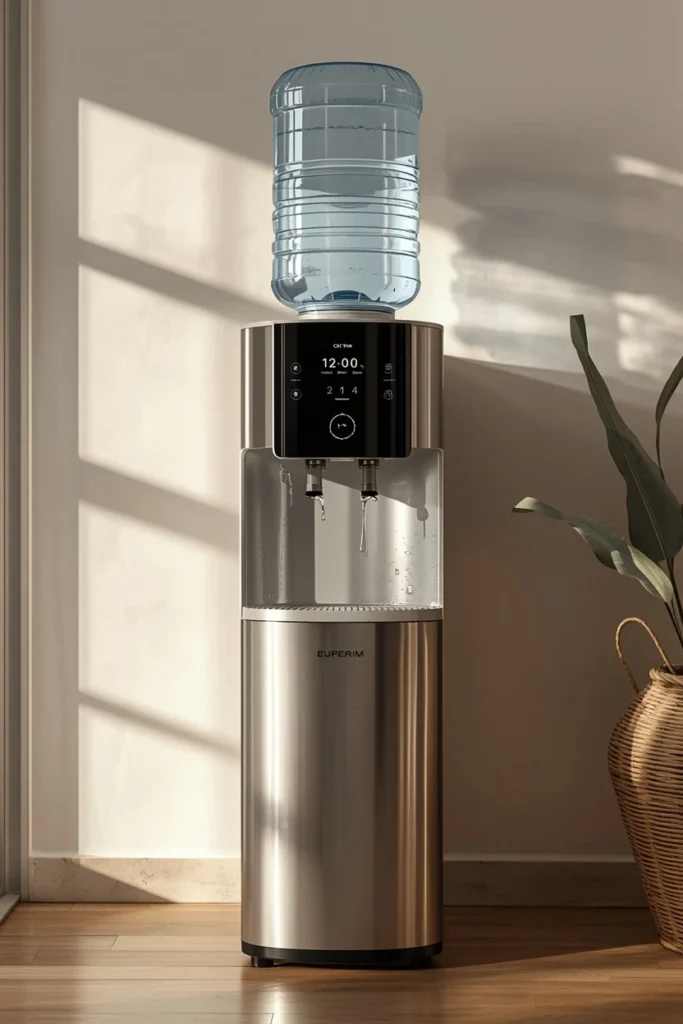
Think about it for a second. Water dispensers sit in warm rooms, get touched by dozens of hands a day, and hold standing water in dark reservoirs. That’s basically a five-star resort for bacteria and mold.
Moisture plus warmth plus darkness equals the perfect breeding ground. Add in the fact that most people never think to clean the thing, and you’ve got a recipe for trouble.
Ever wonder why the water sometimes tastes a little off even though it looked clean going in? That’s your answer.
The Spots You’re Probably Ignoring
Most people wipe down the outside of their dispenser and call it a day. That’s like washing your car’s exterior and never checking the engine.
Here are the areas that build up gunk fastest:
- The drip tray – catches spills and rarely gets emptied
- The nozzle and spout – touched constantly, cleaned almost never
- The internal reservoir – holds standing water for days or weeks
- The bottle neck area – where the water bottle meets the unit
- Water lines in bottleless models – hidden and easy to forget
Each of these spots can quietly grow biofilm, which is basically a slimy bacterial colony that clings to surfaces. Gross, right? I know.
What Actually Grows in There
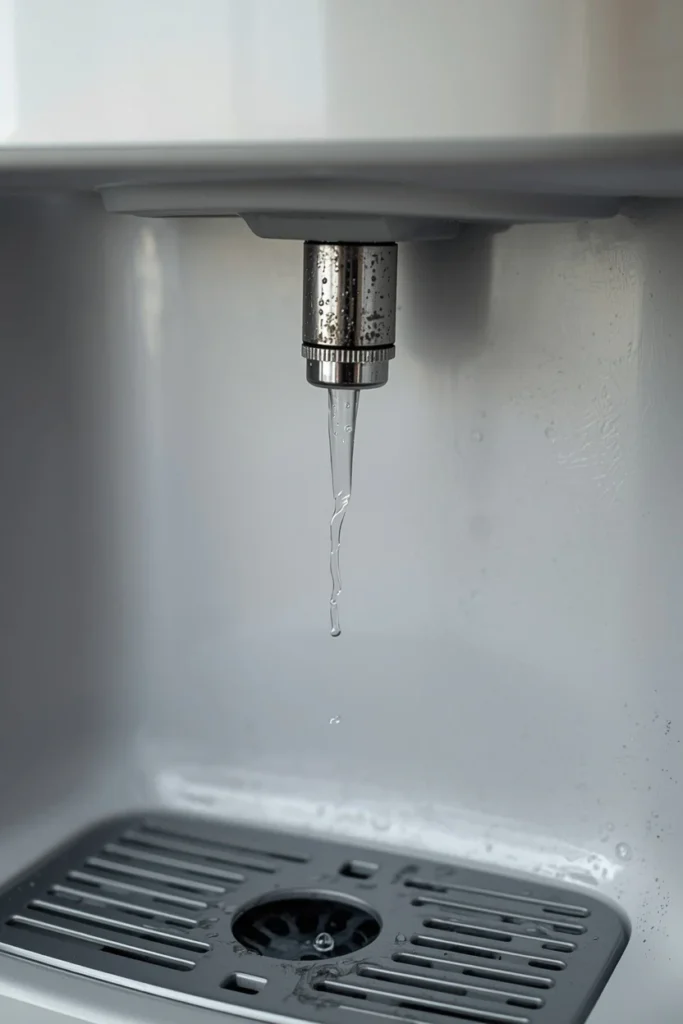
I’m not trying to scare you for the fun of it, but you deserve the real picture.
Studies on office water coolers have found mold, yeast, and bacteria like E. coli and coliform living in dispensers that looked perfectly normal from the outside.
Your dispenser doesn’t send you a warning text when bacteria levels spike. It just keeps dispensing water like nothing’s wrong, which is exactly the problem.
Signs Your Dispenser Needs Attention Now
You don’t need a microscope to catch the early warning signs. Watch for these:
- Slimy residue on the nozzle or inside the reservoir
- A musty or stale smell coming from the water
- Cloudy or discolored water, even briefly
- Slower flow rate from mineral or biofilm buildup
- Visible mold spots, usually black or greenish
If you spot even one of these, it’s time to stop procrastinating and grab your cleaning supplies.
How Often Should You Actually Clean It
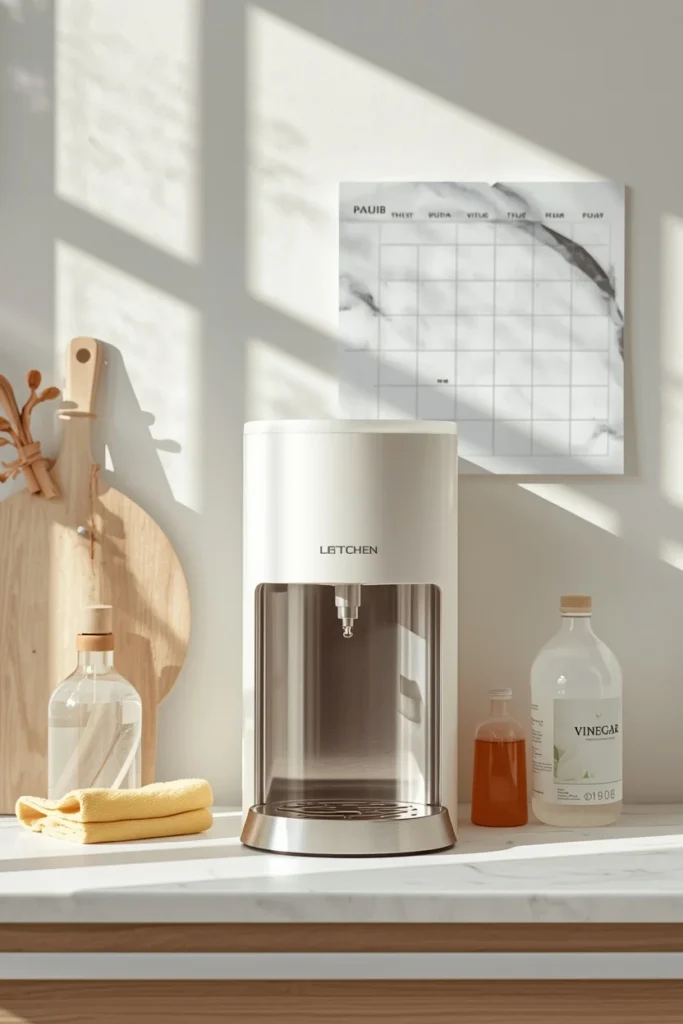
This is the question everyone asks me, and honestly, the answer surprises most people. You should deep clean your water dispenser every two to four weeks, not once a year when it finally starts smelling like a gym locker.
I used to think a quick wipe-down every few months was plenty. Then I actually researched it and felt a little embarrassed about my own kitchen habits.
Here’s a simple breakdown of a realistic cleaning schedule:
| Task | Frequency |
|---|---|
| Wipe exterior and buttons | Daily to every few days |
| Empty and clean drip tray | Weekly |
| Deep clean reservoir and lines | Every 2 to 4 weeks |
| Replace filters (if applicable) | Every 3 to 6 months |
Sticking to a routine like this keeps bacteria from ever getting a real foothold in the first place.
The Step by Step Cleaning Process
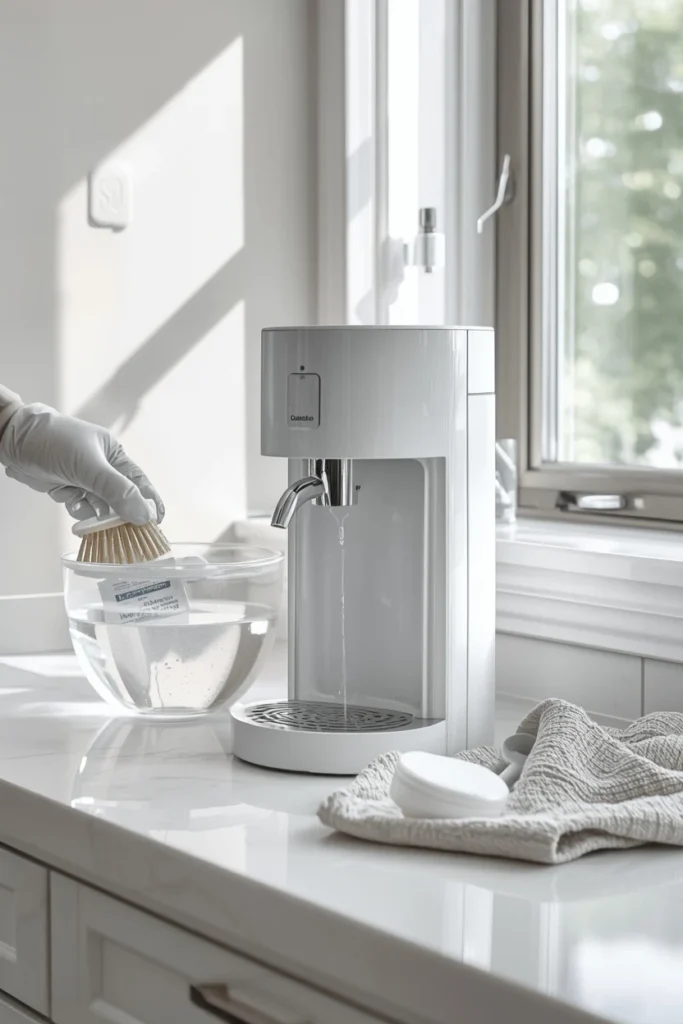
Alright, let’s get into the part you actually came for. Cleaning a water dispenser isn’t complicated, but skipping steps defeats the purpose. Grab some white vinegar, dish soap, and a soft brush, and let’s get this done properly.
Step 1: Unplug and Empty It Completely
Safety first. Unplug the unit before you touch anything electrical, and remove the water bottle or drain the reservoir fully.
Step 2: Disassemble the Removable Parts
Take off the drip tray, guard, and any removable spouts. These parts are usually dishwasher safe, but check your manual so you don’t accidentally melt something.
Step 3: Make Your Cleaning Solution
Mix one part white vinegar with four parts water. This combo is affordable, effective, and doesn’t leave behind harsh chemical residue that could contaminate your drinking water later.
Step 4: Scrub the Reservoir
Pour the vinegar solution into the empty reservoir and let it sit for about 15 to 20 minutes. Use a bottle brush to scrub the interior walls, paying close attention to corners where biofilm loves to hide.
Step 5: Flush the System
Run the vinegar solution through the dispensing nozzle a few times to clean the internal lines. This step matters more than people realize, since bacteria often build up right where you least expect it.
Step 6: Rinse Thoroughly
Rinse everything with clean water multiple times until you can’t smell vinegar anymore. Nobody wants their morning coffee water tasting like a salad dressing.
Step 7: Sanitize and Dry
For an extra layer of protection, wipe surfaces with a diluted bleach solution (one tablespoon per gallon of water) and let everything air dry completely before reassembling. Moisture left behind just restarts the whole bacteria party.
Hot vs Cold Dispensers: Does It Make a Difference
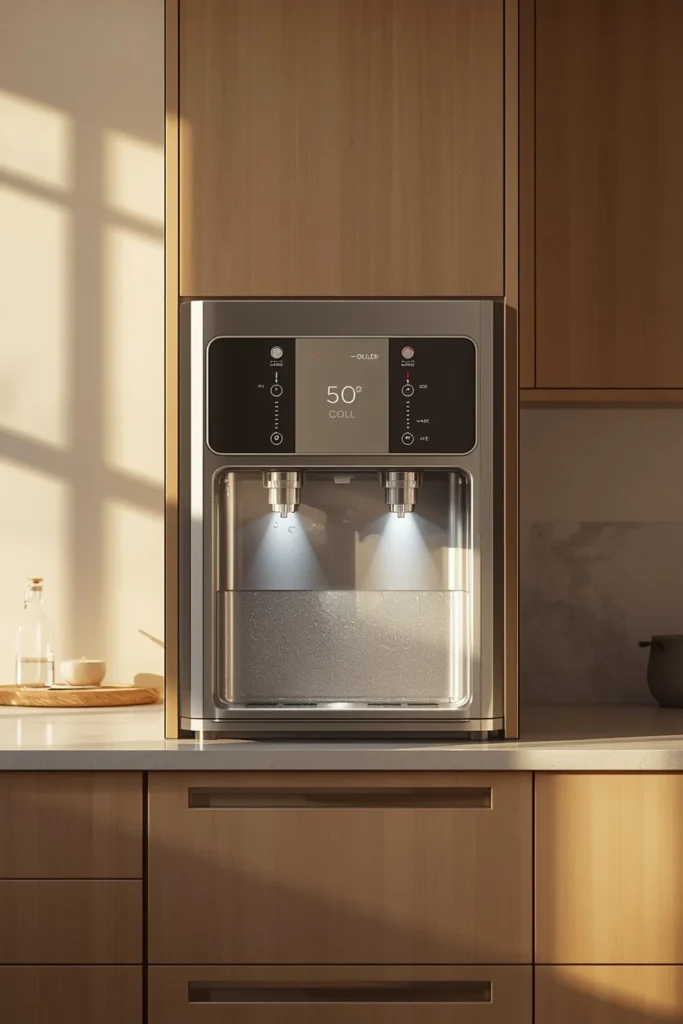
People often ask me if hot water dispensers are somehow safer since heat kills bacteria. That’s a fair assumption, but it’s only partly true.
Hot water tanks can still harbor bacteria in areas that don’t reach sterilizing temperatures, especially around seals and valves.
Cold water sides, on the other hand, are basically bacteria playgrounds because they stay at that perfect lukewarm range once water sits for a while.
Bottom line? Both sides need attention. Don’t let the hot tap fool you into thinking it’s self-cleaning, because it absolutely is not.
Bottled vs Bottleless Dispensers: Which Is Easier to Keep Clean
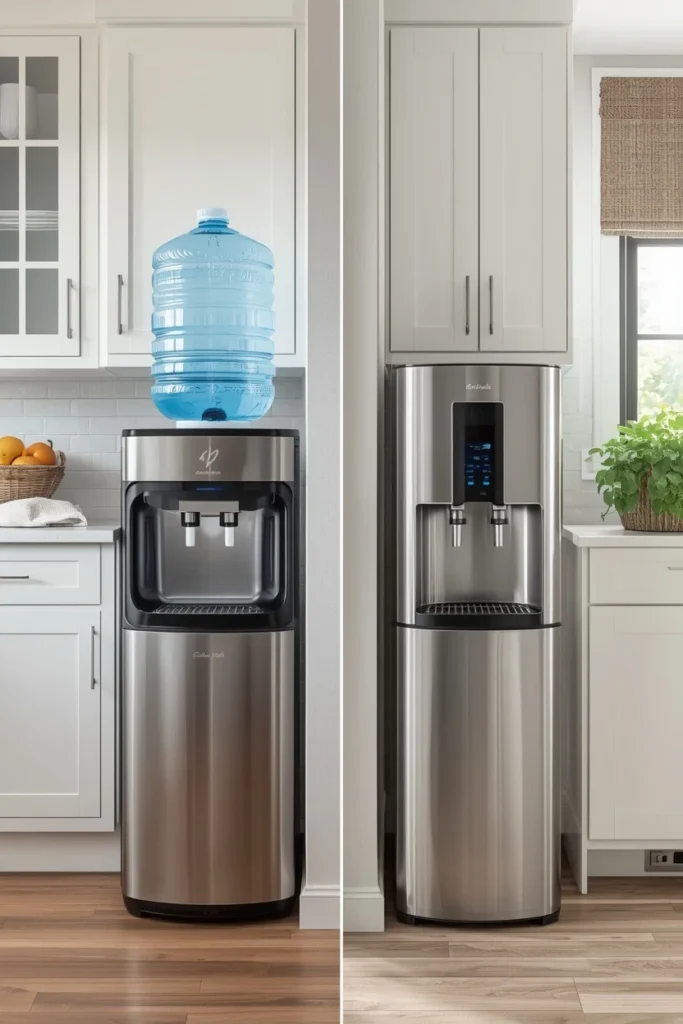
I’ve used both types, and I’ll give you my honest take. Bottled dispensers are simpler to clean because you can fully access the reservoir.
Bottleless models connect directly to your water line, which means the internal tubing is harder to reach and easier to neglect.
If you own a bottleless dispenser, schedule a professional cleaning at least once or twice a year. The convenience of skipping bottle refills comes with the tradeoff of trickier maintenance, and that’s just the reality of it.
Simple Habits That Prevent Buildup Between Cleanings
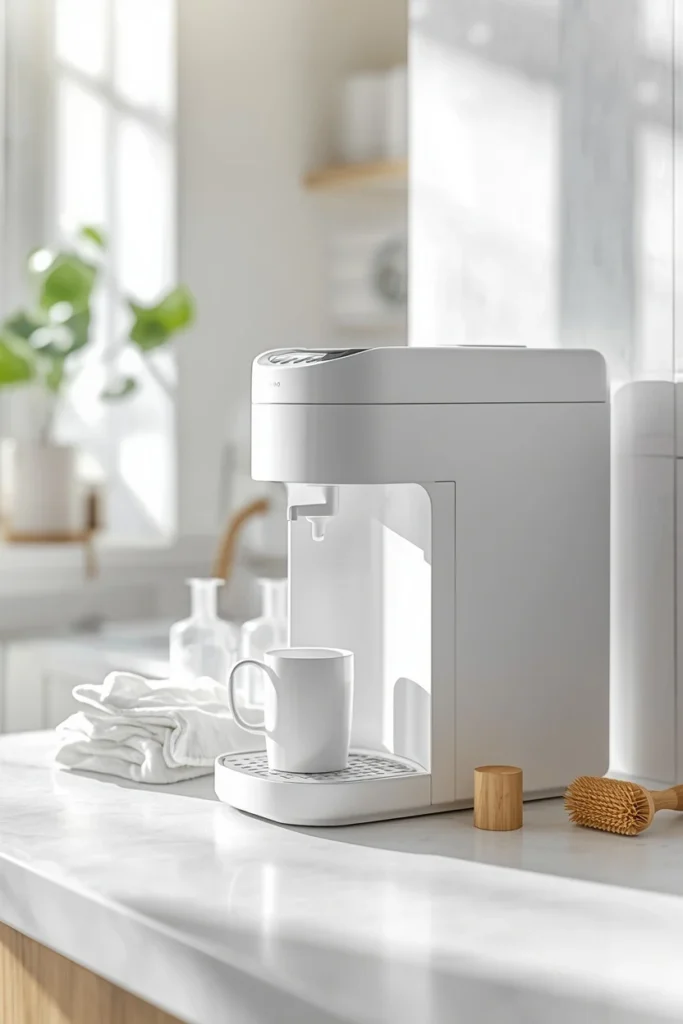
Nobody wants to deep clean a dispenser every single week, and thankfully you don’t have to if you build a few small habits into your routine.
- Wipe the nozzle daily with a clean cloth
- Empty the drip tray before it overflows
- Keep the area around the dispenser dry
- Avoid touching the nozzle with dirty hands or cups
- Replace filters on schedule, not whenever you remember
These habits take seconds but save you from a much bigger scrubbing session later. Think of it like flossing. Annoying in the moment, but it saves you a much worse experience down the road.
Final Thoughts
Your water dispenser should be a source of refreshment, not a hidden health hazard sitting quietly in your kitchen.
Regular cleaning every two to four weeks, combined with small daily habits, keeps bacteria from ever gaining ground. It’s a small time investment for something you and your family use every single day.
So go check that drip tray right now. I’ll wait. If it looks a little questionable, you already know what to do next, and future you will definitely thank present you for finally taking care of it.
How Often Should I Clean My Water Dispenser?
Deep clean the reservoir and internal lines every two to four weeks, and wipe the exterior and nozzle daily to weekly. Sticking to this schedule keeps bacteria and biofilm from ever gaining a real foothold.
What Is The Best Solution For Cleaning A Water Dispenser?
A mix of one part white vinegar to four parts water works well for scrubbing the reservoir and flushing the lines.
For extra protection, follow up with a diluted bleach solution before letting everything air dry completely.
Can Bacteria In A Water Dispenser Make You Sick?
Yes, dispensers can harbor bacteria like E. coli and coliform along with mold and yeast, especially in the drip tray, nozzle, and reservoir. Regular cleaning removes the biofilm these organisms need to grow and spread.
Are Bottleless Water Dispensers Harder To Clean Than Bottled Ones?
Bottleless dispensers connect directly to the water line, which makes the internal tubing harder to reach and easier to neglect compared to a bottled reservoir.
Scheduling a professional cleaning once or twice a year helps close that gap.
Does Hot Water Kill Bacteria In A Dispenser?
Not entirely, since areas like seals and valves often don’t reach sterilizing temperatures even on the hot side. Both the hot and cold sides need regular cleaning, so don’t assume the hot tap takes care of itself.