
Your chest freezer just gave you a whiff of something questionable, and now you’re standing there wondering what died in there. Literally, maybe.
I’ve been there, elbow deep in frost with a bag of freezer-burned peas from 2019 in my hand, questioning my life choices.
If you’re ready to tackle this beast once and for all, I’m walking you through exactly how to deep clean a chest freezer properly, without losing your sanity or your Saturday.
I own a chest freezer because I’m the person who buys half a cow at a time (don’t judge me, bulk meat is the move).
That means mine gets a serious deep clean at least twice a year, and I’ve learned every shortcut and every mistake along the way. So let’s get yours smelling fresh and running efficiently, shall we?
Why Deep Cleaning Your Chest Freezer Actually Matters
Here’s the thing nobody tells you: a dirty freezer isn’t just gross, it actually costs you money.
Built-up frost and grime make your compressor work harder, which means higher electricity bills for the privilege of smelling mystery meat every time you open the lid. Not exactly a great trade, right?
A proper deep clean also stops freezer burn from spreading to your fresh food and keeps mold from setting up shop in those corners you never check.
Your freezer works harder when it’s dirty, and that wear adds up over the years. Think of this as preventative maintenance, not just a chore you’re dreading.
What You’ll Need Before You Start
Don’t wing this one. I made that mistake once and ended up mid-cleanup with melting ice cream and no towels in sight. Gather your supplies first so you’re not scrambling.
Here’s your shopping list:
- Coolers or insulated bags to hold your frozen food temporarily
- Baking soda for tackling odors naturally
- White vinegar for cutting through grime and disinfecting
- Warm water (not boiling, you’ll learn why below)
- Soft sponges or microfiber cloths
- A plastic scraper (never metal, trust me on this one)
- Old towels for soaking up melted frost
- Rubber gloves because nobody wants freezer funk on their hands
Having everything within arm’s reach turns a two-hour ordeal into a forty-five minute job. Prep work isn’t glamorous, but it saves you from three trips to grab things you forgot.
Step 1: Empty It Out and Save Your Food
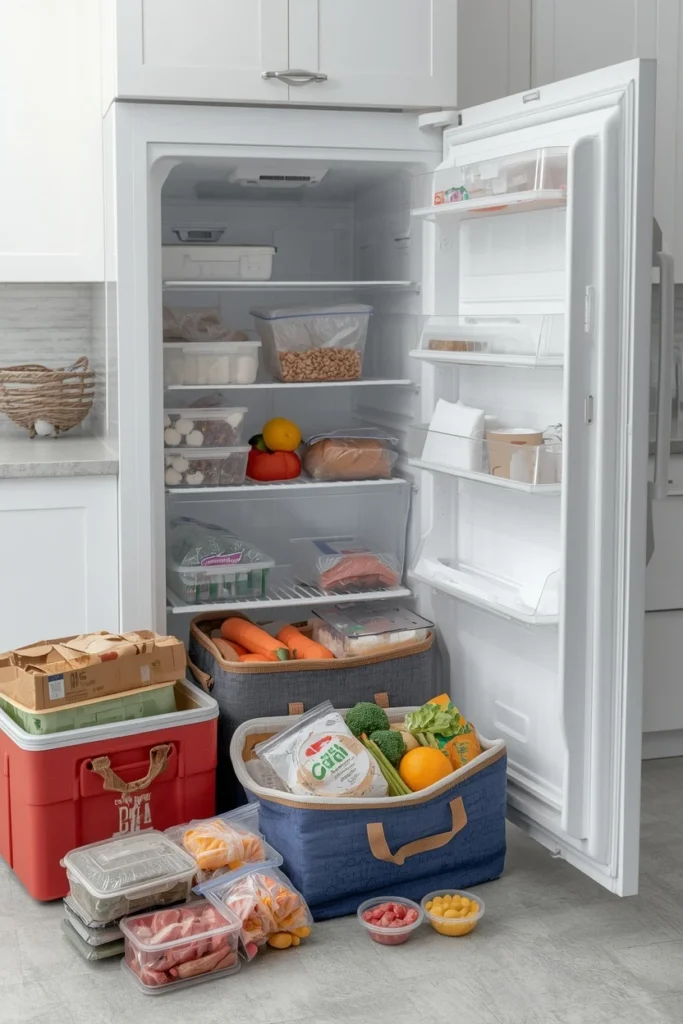
First things first, you need somewhere for all that frozen food to live while you work.
Pack everything into coolers with ice packs or, if it’s winter and you live somewhere cold, toss it in a cooler outside for an hour. Speed matters here, so work quickly to avoid partial thawing.
While you’re emptying the freezer, this is the perfect moment to do a ruthless inventory check. That mystery bag of something from three winters ago? Time to let it go.
Ever notice how freezers become graveyards for food you swore you’d eat “someday”?
Sort everything into keep and toss piles as you go. You’ll thank yourself later when your freezer isn’t a game of Tetris with expired leftovers.
Step 2: Unplug the Freezer and Let the Frost Melt
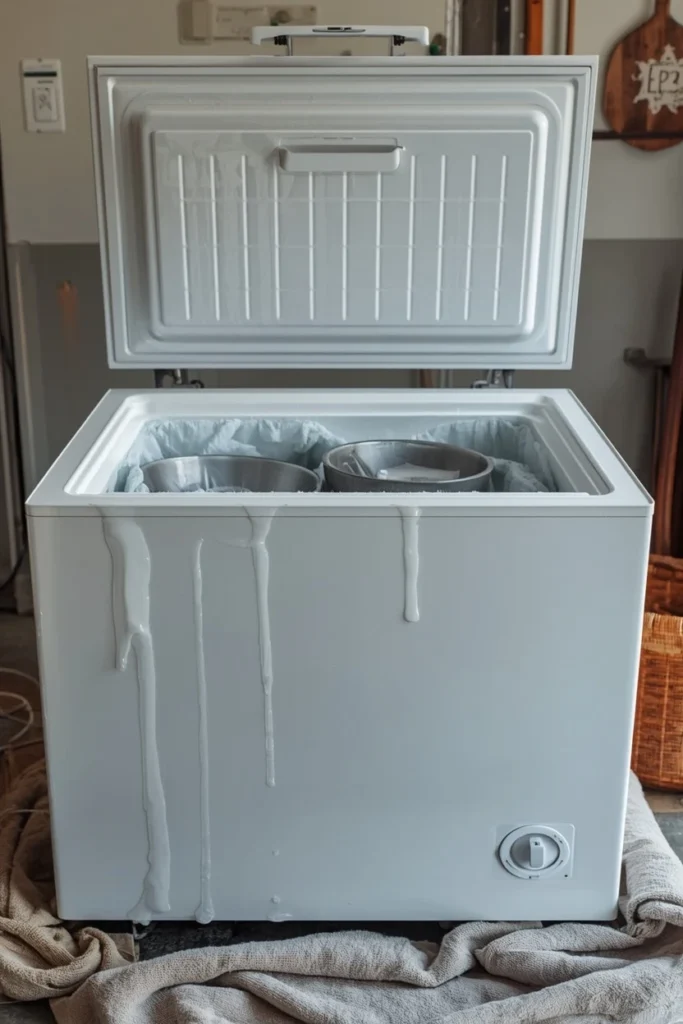
Unplug your chest freezer before you do anything else. I know it sounds obvious, but I’ve genuinely watched someone try to clean a running freezer with a sponge and immediately regret it.
Prop the lid open and let nature do the heavy lifting. Frost buildup will start softening on its own within an hour or two, especially if you place towels at the bottom to catch the melt.
Patience beats brute force every single time with this step.
Speed Up the Defrosting Process
If you’re impatient like me, a few tricks help move things along without damaging your freezer.
- Place bowls of hot (not boiling) water inside and close the lid partway
- Use a hair dryer on low heat, keeping it moving constantly
- Run a small fan nearby to circulate warmer air
Whatever you do, skip the ice pick or knife trick. I tried this once in college and put a hole straight through the freezer wall. Not my finest moment, and definitely not yours either.
Step 3: Scrape Away Remaining Ice (Carefully)
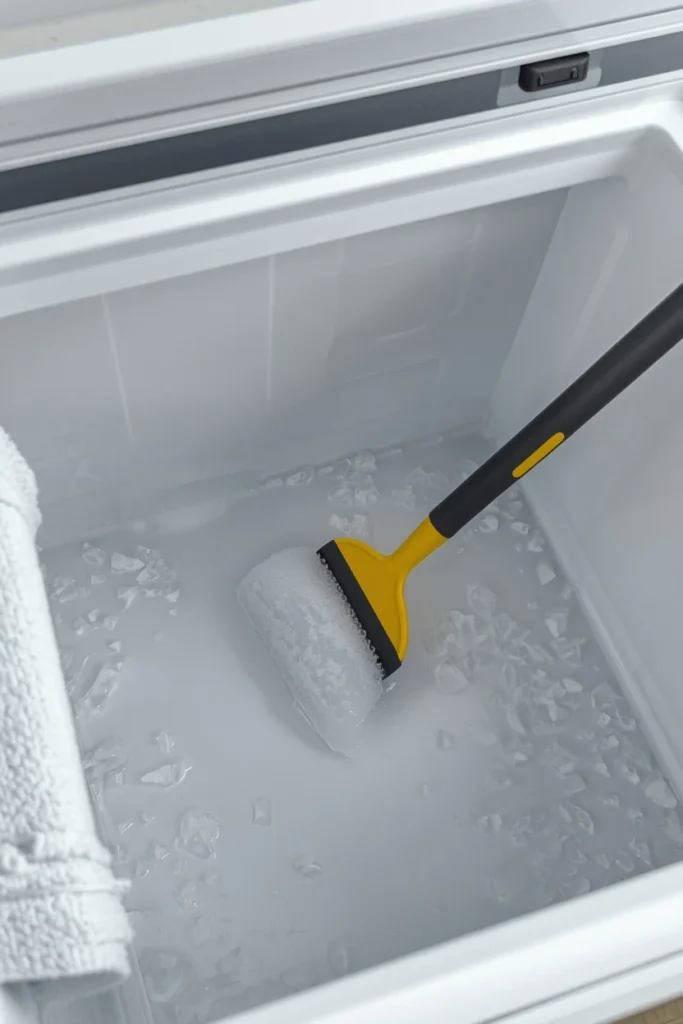
Once most of the frost has softened, grab your plastic scraper and gently work off any stubborn chunks.
Metal tools are tempting because they’re faster, but they scratch the interior lining and can even puncture cooling lines. A scratched freezer is a freezer with a shorter lifespan, so resist that urge.
Work in small sections rather than trying to clear everything in one pass. Slow and steady genuinely wins this particular race. Your freezer isn’t going anywhere, so there’s no need to rush and risk damage.
Step 4: Wash the Interior with a Vinegar Solution
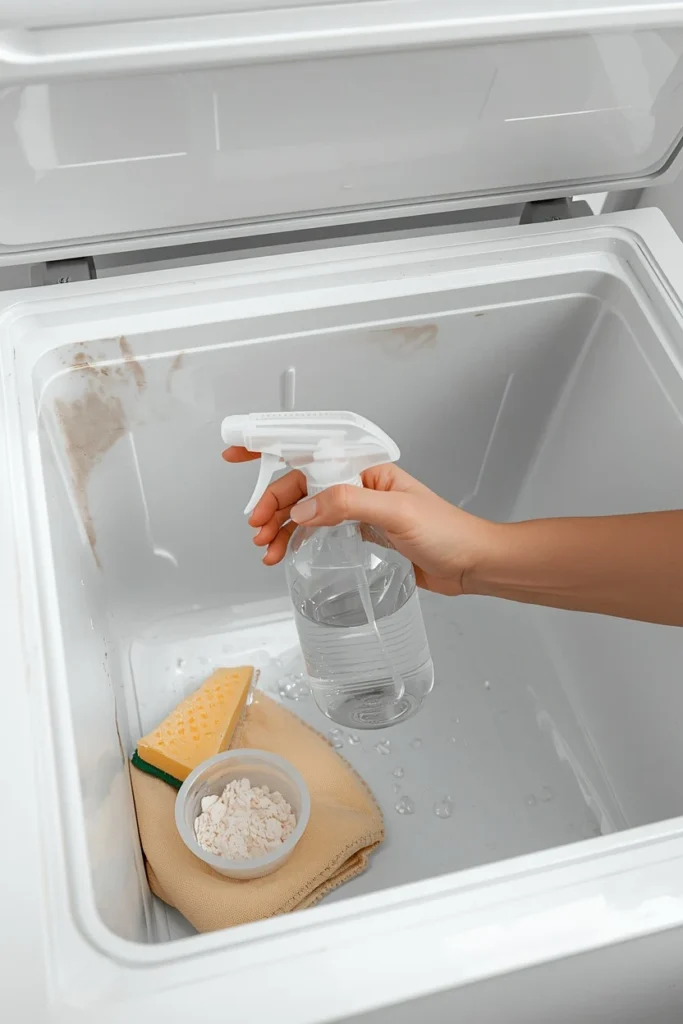
Now for the actual cleaning part, which is honestly the easiest step in the whole process. Mix equal parts warm water and white vinegar in a spray bottle or bowl.
Vinegar cuts through grease, kills odor-causing bacteria, and it won’t leave behind harsh chemical smells near your food.
Wipe down every surface with your sponge, paying extra attention to the corners and the gasket seal around the lid.
That rubber gasket collects grime like nobody’s business, and a dirty seal actually affects how well your freezer holds its temperature. Clean gaskets mean better efficiency, so don’t skip this part just because it’s fiddly.
Dealing With Stubborn Stains or Odors
If vinegar alone doesn’t cut it, baking soda is your next weapon of choice. Make a thick paste with a little water and gently scrub any lingering stains or sticky residue.
For truly persistent odors, leave an open box of baking soda inside the freezer for 24 hours before you plug it back in.
This trick works wonders and costs you basically nothing. Why pay for fancy odor eliminators when your pantry already has the answer?
Step 5: Dry Everything Completely
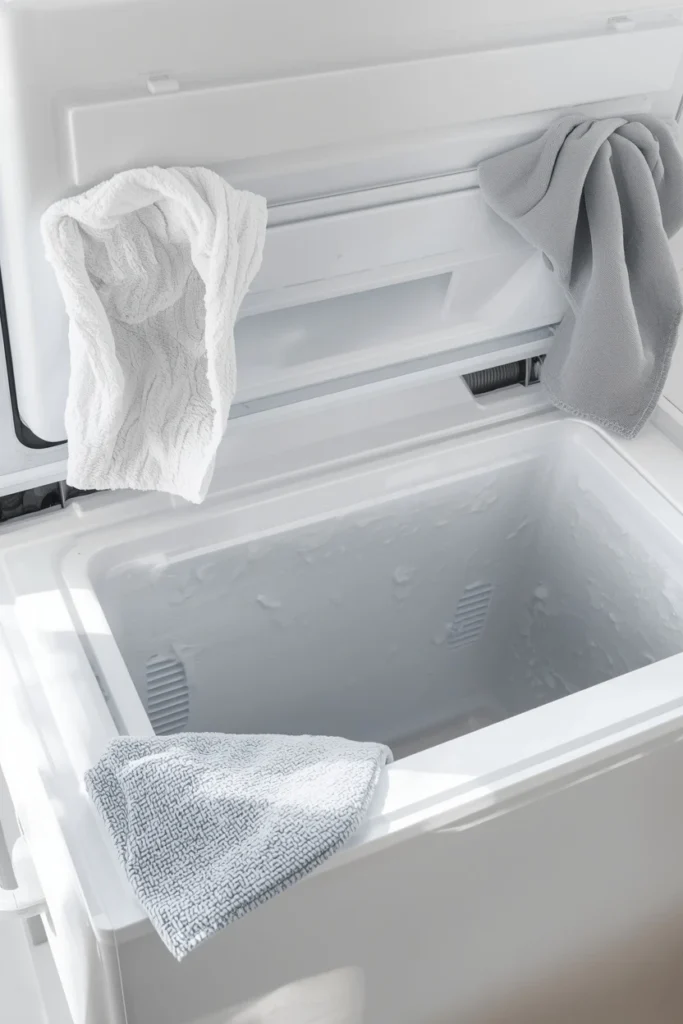
This step gets skipped constantly, and it’s a mistake. Any leftover moisture will refreeze the second you plug your freezer back in, creating new frost before you’ve even finished putting your food away.
Use dry towels or a microfiber cloth to wipe every inch until it’s bone dry.
Pay special attention to corners and the bottom edges where water likes to pool. Skipping this step undoes half your hard work, so give it the extra five minutes it deserves. Nobody wants to redo a job they just finished.
Step 6: Clean the Exterior and Coils Too
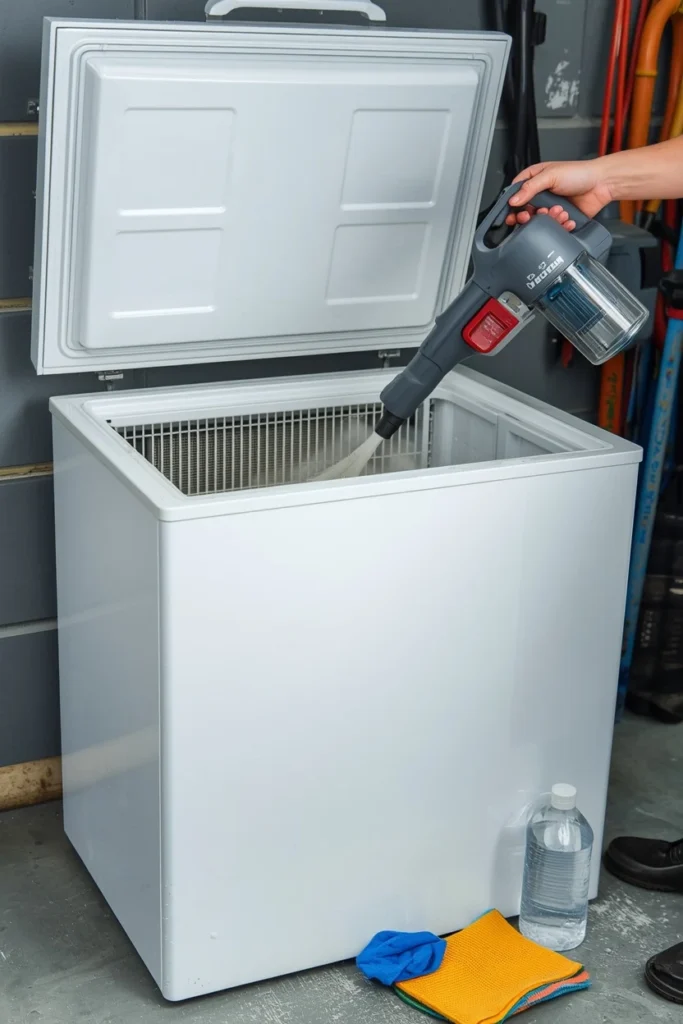
Don’t stop at the inside, because a truly deep clean covers the whole appliance. Wipe down the exterior with a mild soap and water solution, and don’t forget the handle and lid seams where dust loves to gather.
If your model has exposed coils or a vent, gently vacuum away any dust buildup using a soft brush attachment.
Dusty coils force your compressor to work overtime, which brings us right back to that higher electricity bill problem. A five minute vacuum session now saves you real money down the line.
Step 7: Plug It Back In and Restock
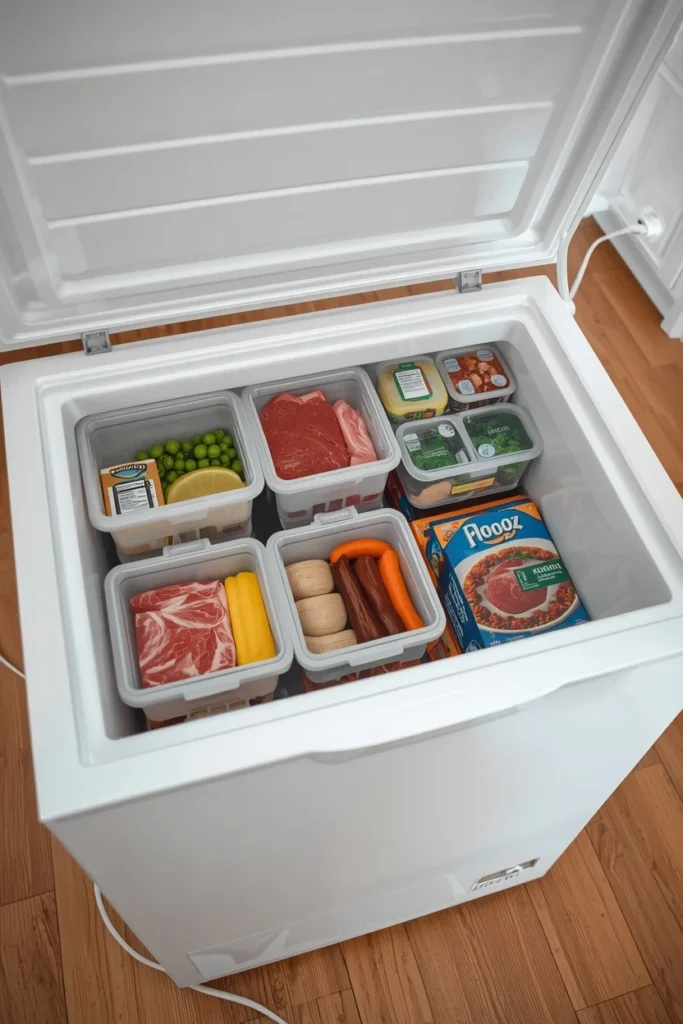
Once everything is completely dry, plug your freezer back in and give it about twenty minutes to reach temperature before restocking.
Rushing this part means putting food into a freezer that isn’t cold enough yet, which nobody wants after all this effort.
While you wait, this is a great moment to plan how you organize your freezer going forward. Bins, labels, and a simple system prevent that “mystery meat graveyard” situation from happening again.
I use labeled bins by category now, meat, veggies, and pre-made meals, and it’s genuinely changed how I use my freezer.
Final Thoughts
Deep cleaning a chest freezer isn’t glamorous work, but it pays off in a fresher-smelling kitchen, lower energy bills, and food that actually lasts as long as it should.
Break it into these steps, don’t rush the drying phase, and skip anything metal near that interior lining. Your freezer works hard for you all year long, so give it the occasional spa day it deserves.
Now go tackle that freezer before it tackles you first with another surprise smell. Your future self, reaching for perfectly organized, odor-free frozen meals, will thank you.
How Often Should I Deep Clean My Chest Freezer?
Aim for a deep clean at least twice a year, ideally every six months. If you notice heavy frost buildup or lingering odors sooner, don’t wait for the calendar to tell you it’s time.
Regular maintenance prevents small issues from becoming bigger, costlier ones.
Can I Use Bleach To Clean My Chest Freezer?
You technically can, but I wouldn’t recommend it. Bleach can leave behind harsh fumes that linger and potentially affect stored food. Vinegar and baking soda do the job just as well without the risk or the smell.
How Long Does It Take To Deep Clean A Chest Freezer?
Most deep cleans take between one and two hours from start to finish, including defrosting time. Having your supplies ready ahead of time speeds things up considerably.
Rushing the process usually just means redoing steps later, so budget the full time.
Why Does My Chest Freezer Smell Even After Cleaning It?
Lingering odors usually mean something got missed, often in the gasket seal or a hidden corner.
Leaving an open box of baking soda inside for 24 hours typically resolves stubborn smells. If the odor persists, check for spoiled food residue trapped in seams or drainage areas.
Is It Safe To Use A Hair Dryer To Defrost A Chest Freezer?
Yes, as long as you keep it on low heat and keep it moving constantly rather than holding it in one spot.
Never let it get too close to the interior walls or cooling lines. It’s a handy shortcut, but patience with natural melting is still the safest overall approach.