
Your vacuum cleaner works harder than almost any other appliance in your house, and you probably treat it like it owes you nothing in return.
You drag it out, run it over crumbs and pet hair, then shove it back in the closet without a second thought. That habit is exactly why so many vacuums die an early, entirely preventable death.
I’ve owned enough vacuums (and killed a few through pure neglect) to know that a little maintenance goes a long way.
Stick with me, and I’ll walk you through everything I’ve learned about keeping a vacuum running strong for years instead of months.
Why Vacuum Maintenance Actually Matters
Let’s get one thing straight: a vacuum cleaner is not a “buy it and forget it” appliance. It has moving parts, filters, and a motor that all need attention to keep performing well.
Ignore that, and you’re basically paying for a fancy paperweight.
A poorly maintained vacuum doesn’t just lose suction. It also:
- Spreads dust and allergens back into your home instead of trapping them
- Strains the motor, which shortens its overall lifespan
- Costs you more money in premature replacements
- Smells bad, because trapped debris and pet hair do not age well
Ever noticed your vacuum losing power after just a few months? That’s rarely a manufacturing defect. It’s almost always a maintenance issue, and the fix is usually simpler than you’d expect.
Empty the Dustbin or Change the Bag Regularly
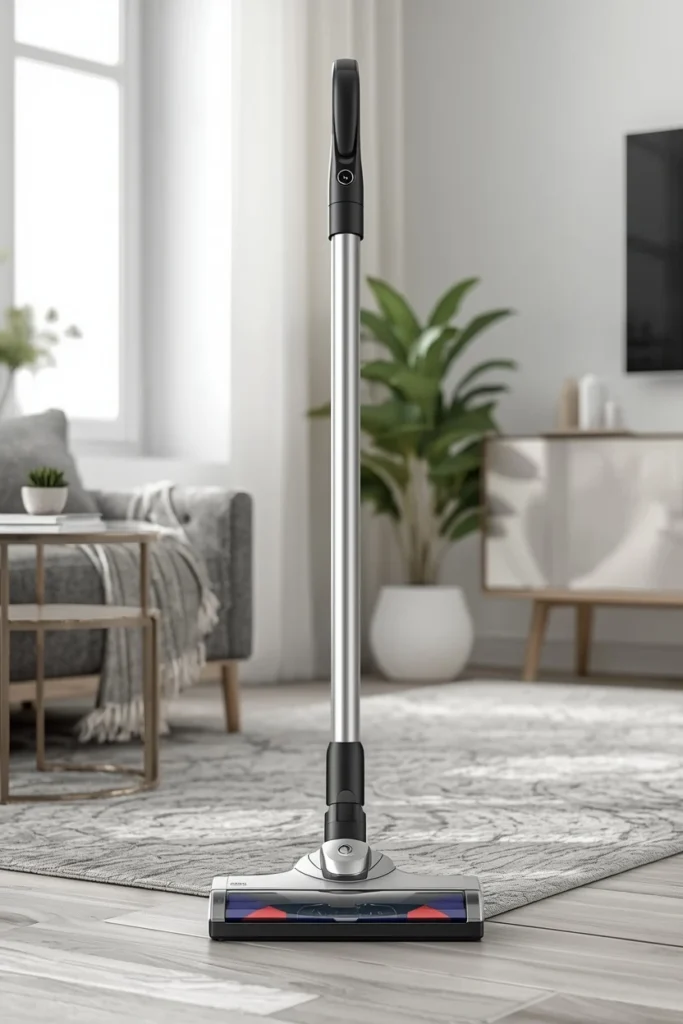
This one seems obvious, yet it’s the single most ignored rule of vacuum ownership. A full dustbin or bag forces the motor to work overtime just to pull air through, and that extra strain adds up fast.
Bagless Models
If you own a bagless vacuum, empty the canister once it hits the halfway mark, not when it’s overflowing. Waiting until it’s completely full reduces airflow and makes your vacuum work twice as hard for half the results.
Bagged Models
Bagged vacuums are a little more forgiving, but don’t get lazy. Replace the bag once it reaches about two-thirds full, because a nearly full bag reduces suction just as much as an empty tank reduces your gas mileage. Nobody wants that.
Clean or Replace Your Filters
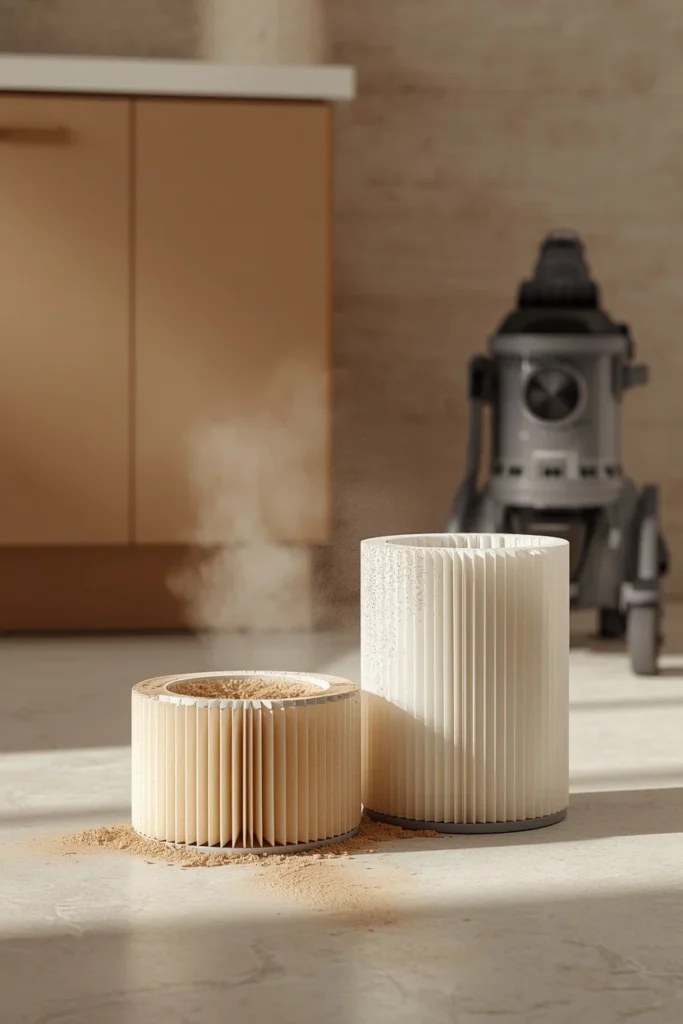
Filters are the unsung heroes of any vacuum, quietly trapping dust, allergens, and debris so you don’t have to breathe them in. Neglect them, and your vacuum will struggle to perform no matter how new it is.
Here’s a quick breakdown of what to do:
- HEPA filters: Rinse washable versions monthly, and let them air dry completely before reinserting them. Never use a wet filter.
- Foam filters: Wash gently with mild soap every few weeks, especially if you have pets.
- Non-washable filters: Replace these every three to six months, depending on usage.
I learned this lesson the hard way after ignoring my own filter for nearly a year. My vacuum sounded like it was gasping for air, and honestly, it kind of was. Don’t be like past me.
Check and Clean the Brush Roll
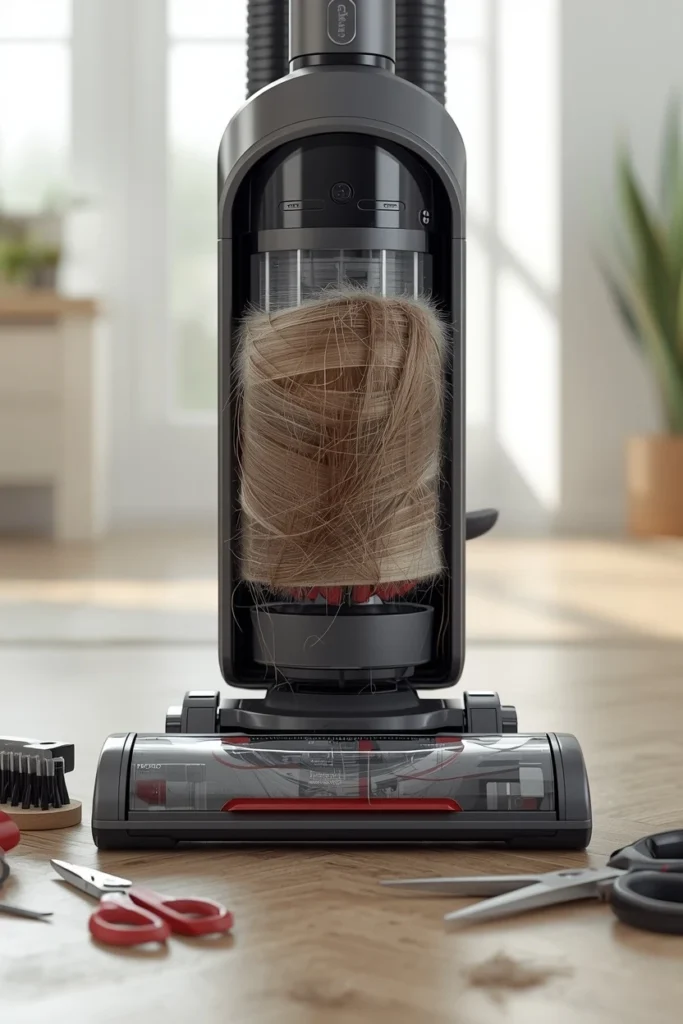
The brush roll is the workhorse that agitates dirt and pulls it up from your carpet fibers. Hair, string, and pet fur love to wrap around it like it’s some kind of trophy, and that buildup restricts movement and burns out the motor faster.
How to Clean It Properly
- Turn off and unplug the vacuum before touching the brush roll. Safety first, always.
- Use scissors to carefully cut away tangled hair and threads.
- Remove any embedded debris with a small brush or an old toothbrush.
- Check for uneven wear, since a worn-down brush roll won’t agitate carpet fibers effectively anymore.
Do this every couple of weeks if you have pets, or once a month if you don’t. Skipping this step is like never brushing your own hair and wondering why it’s a tangled mess.
Inspect Belts for Wear and Tear

The belt connects the motor to the brush roll, and it’s a small part that causes big problems when it fails. A worn or snapped belt means your brush roll stops spinning, even though the vacuum still sounds like it’s running fine.
Watch for these warning signs:
- A burning rubber smell while vacuuming
- The brush roll not spinning even when the vacuum is on
- Visible cracks or fraying on the belt itself
Replacing a belt costs just a few dollars and takes about ten minutes. Compare that to replacing an entire vacuum, and suddenly that ten minutes feels like the best investment you’ll make all year.
Keep the Hose and Attachments Clog-Free
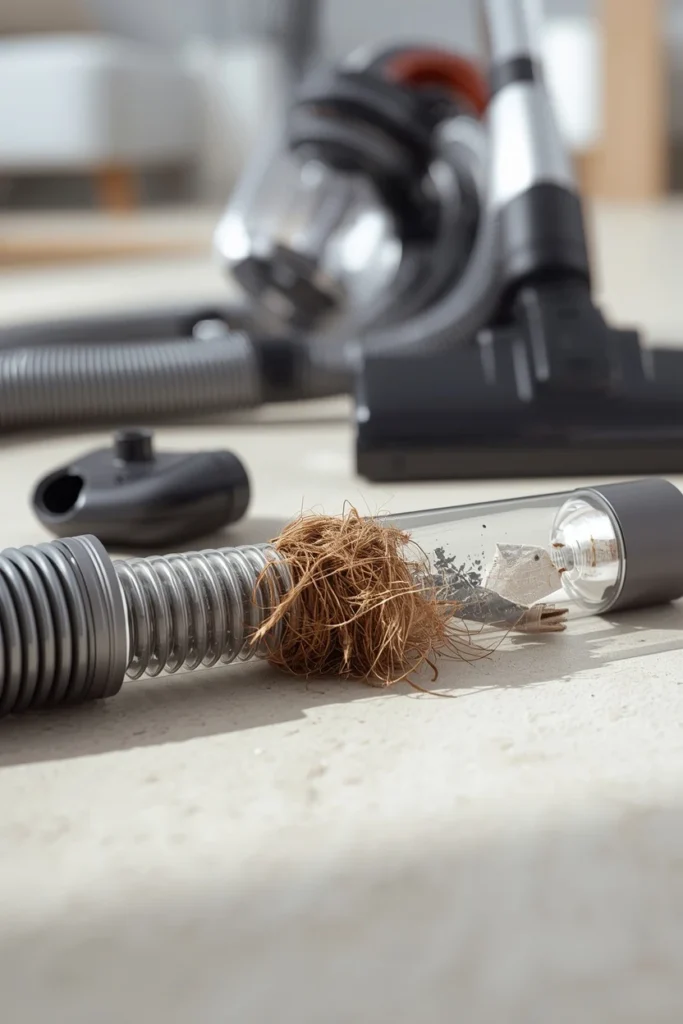
Nobody thinks about the hose until it’s clogged and your vacuum sounds like it’s choking. Long hair, socks, and random toys have a mysterious way of finding their way into hoses, and once they’re stuck, suction drops dramatically.
To clear a clogged hose:
- Detach the hose from the vacuum body.
- Use a broom handle or a straightened wire hanger to gently push the blockage through.
- Run water through it if the hose is fully detachable and dishwasher-safe attachments allow it.
- Let everything dry completely before reattaching, since trapped moisture invites mold.
I once found an entire sock lodged in my hose, and honestly, that explained a lot about my missing laundry too.
Store Your Vacuum the Right Way
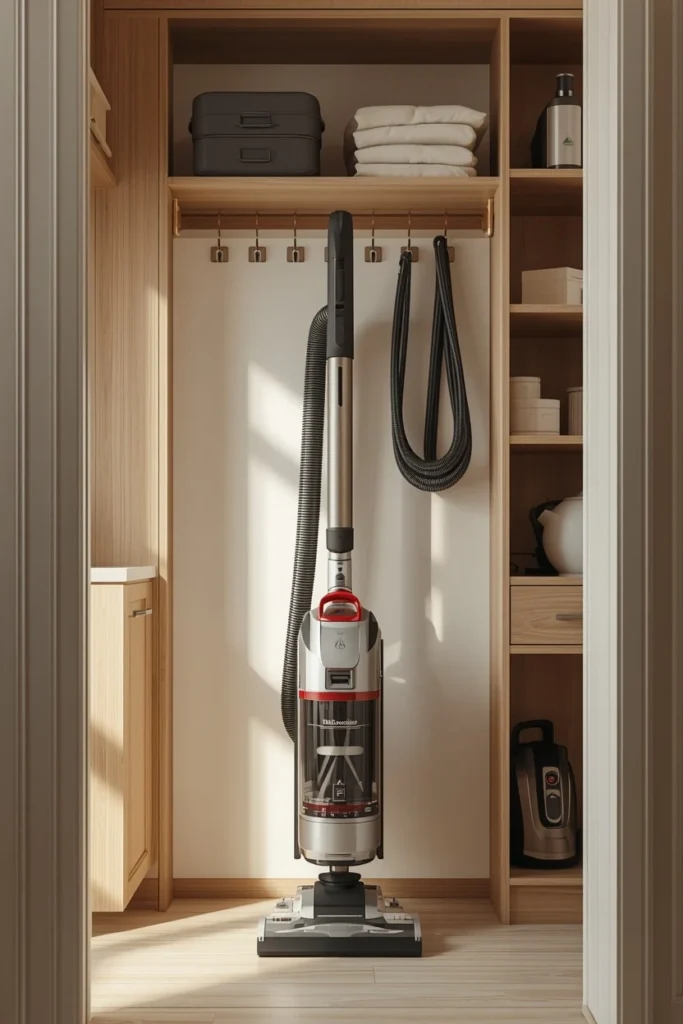
How you store your vacuum matters more than most people realize. Cramming it into a closet with the cord wrapped too tight or the hose bent at an awkward angle puts unnecessary stress on its parts.
Smart Storage Habits
- Store it in a dry, temperature-controlled space, since humidity damages internal components.
- Avoid wrapping the cord too tightly around hooks, as this weakens the wiring over time.
- Keep it upright rather than lying on its side, so internal components stay properly aligned.
- Give it a little breathing room instead of squeezing it into a tiny closet corner.
Think of your vacuum like a good pair of shoes. Toss them carelessly into a pile every day, and they’ll fall apart way faster than if you actually took care of them.
Schedule Regular Motor and Sensor Checks
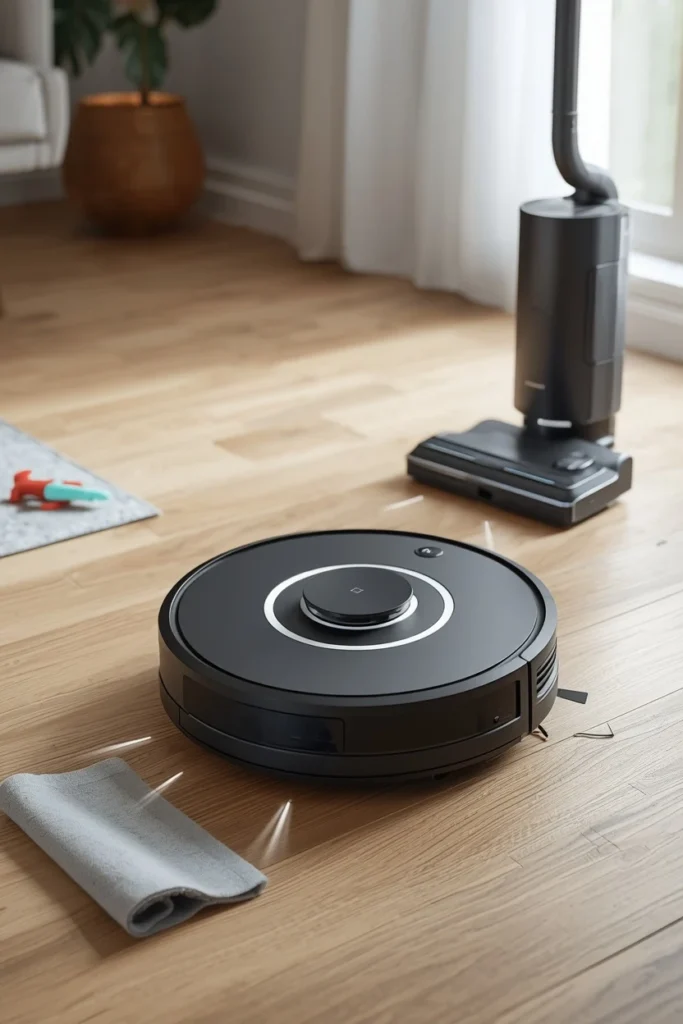
Modern vacuums, especially robot models, rely on sensors and motors that need occasional attention too.
Dust buildup on sensors can cause a robot vacuum to bump into walls repeatedly or miss spots entirely, which defeats the entire purpose of owning one.
For motorized components, keep an eye out for:
- Unusual noises, which often signal something is loose or worn
- Overheating, especially after long vacuuming sessions
- Reduced battery life on cordless models, which usually points to a filter or brush roll issue rather than the battery itself
A quick monthly wipe-down of sensors and vents takes less than five minutes. That’s a small price to pay for a vacuum that actually knows where your coffee table is.
Know When It’s Time for Professional Servicing
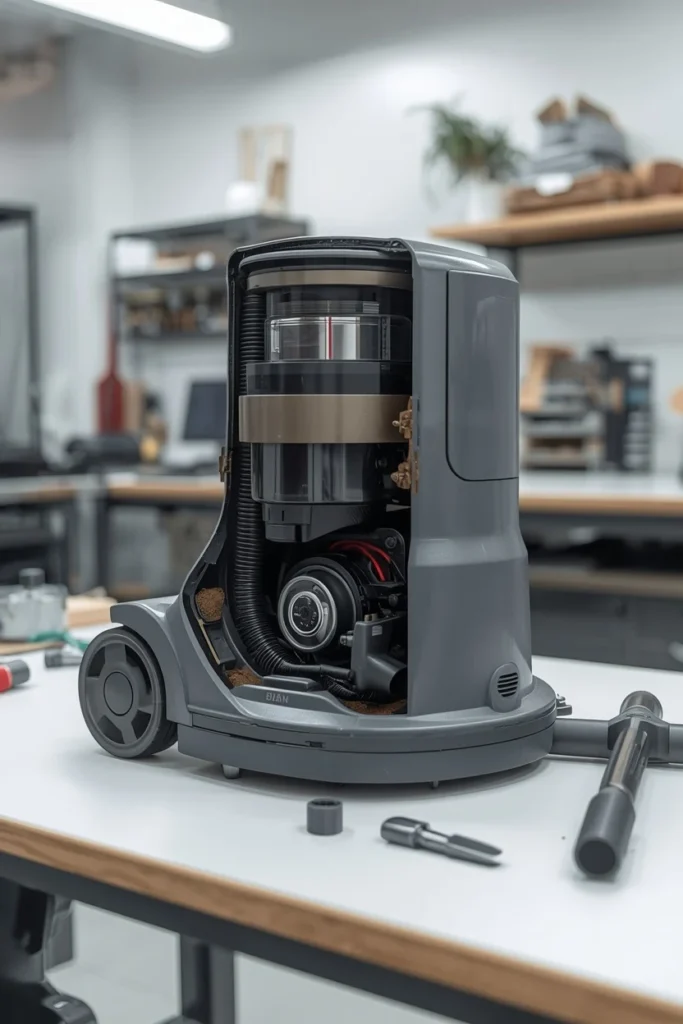
Some issues go beyond a quick DIY fix, and that’s completely fine. If your vacuum is losing suction even after you’ve cleaned everything, or if it’s making strange grinding noises, it might be time to bring in a professional.
Signs you shouldn’t ignore:
- Persistent loss of suction despite clean filters and an empty bin
- Motor overheating frequently, even during short use
- Strange smells, like burning plastic or rubber
- Visible internal damage you’re not comfortable fixing yourself
Paying for a professional tune-up once a year or so is often far cheaper than replacing the entire unit. Your vacuum will thank you, in its own silent, dust-collecting way.
Final Thoughts
Taking care of your vacuum isn’t complicated, it just requires a little consistency. Empty the bin regularly, clean your filters, check the brush roll and belt, keep hoses clear, and store the whole thing properly.
Do these simple things, and your vacuum will reward you with years of solid performance instead of an early trip to the landfill.
So next time you’re tempted to skip that quick filter rinse or brush roll check, ask yourself: is saving five minutes today really worth buying a brand new vacuum next year? I didn’t think so either.
Treat your vacuum right, and it’ll keep your floors (and your sanity) spotless for a long time to come.
How Often Should I Clean My Vacuum Cleaner?
Give your vacuum a quick clean every two to four weeks, depending on how often you use it and whether you have pets.
Emptying the bin, checking the brush roll, and wiping down the filter should become part of your regular cleaning routine, not an afterthought.
How Long Should A Vacuum Cleaner Last With Proper Maintenance?
A well-maintained vacuum can easily last eight to ten years, sometimes longer for higher-end models. Skip the maintenance, though, and you might be shopping for a replacement in two or three years instead.
What Are The Signs My Vacuum Needs Servicing?
Watch for persistent loss of suction, strange burning smells, grinding noises, or a brush roll that won’t spin. If cleaning the filters and clearing the hose doesn’t fix the problem, that’s your cue to call in a professional.
Can I Wash My Vacuum Filter With Water?
Yes, but only if it’s labeled as washable. Rinse it with plain water, avoid soap unless the manufacturer says otherwise, and let it air dry completely for at least 24 hours before putting it back in.
Why Does My Vacuum Smell Bad When I Use It?
That smell usually comes from trapped dust, pet hair, or moisture sitting in the bag, filter, or brush roll for too long. Clean out all three, let everything dry fully, and the odor should disappear.