
Your blender works harder than almost any other gadget on your counter, and most of us treat it like it owes us nothing in return.
I learned that lesson the hard way when my first “heavy duty” blender started sounding like a dying lawnmower after only eight months.
Turns out, a few small habits stand between a blender that lasts a decade and one that becomes a very expensive smoothie memory.
I have burned through blenders, nursed a few back to health, and picked up some genuinely useful tricks along the way.
This guide walks you through practical blender maintenance tips that actually keep your blades sharp and your motor strong, without turning your kitchen routine into a chore. Let’s get your blender the respect it deserves.
Why Blender Maintenance Actually Matters
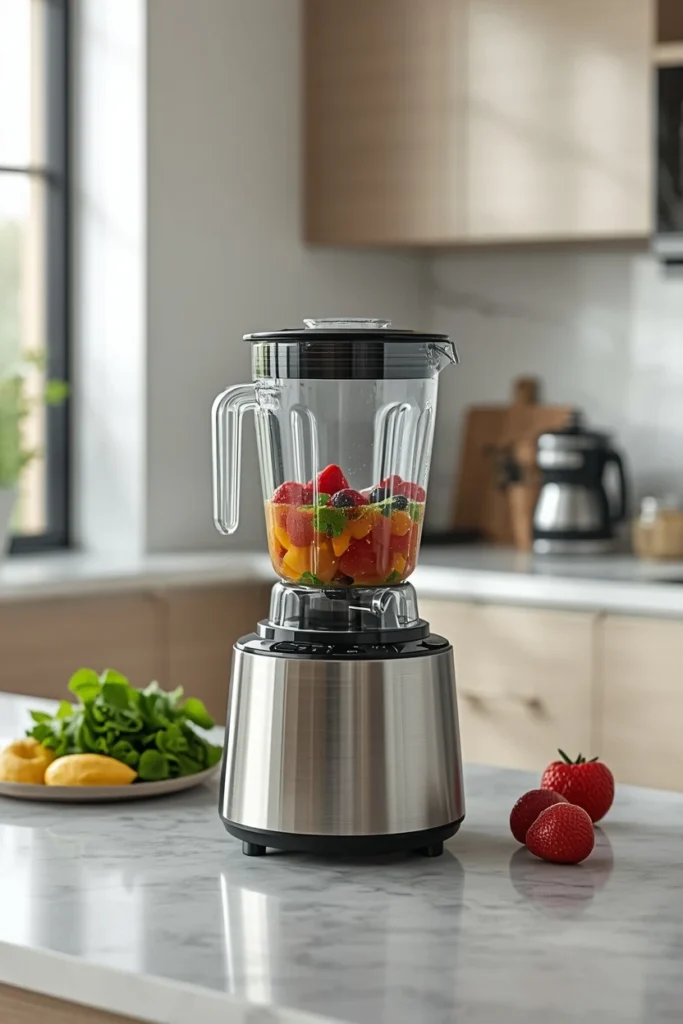
Nobody buys a blender thinking about its long term health. You just want smoothies, soups, and the occasional margarita, right? But skipping basic care is exactly why so many blenders die young.
A neglected blender doesn’t just look bad. It performs worse too.
- Dull blades mean chunkier smoothies and longer blending times
- A struggling motor burns more energy and heats up faster
- Buildup around the base can cause leaks or electrical issues
- Ignored wear and tear often leads to a cracked jar or stripped gears
Think of your blender like a car engine. Skip the oil changes long enough, and eventually you’re not looking at a tune up, you’re looking at a replacement.
The good news? Blender care takes way less effort than car maintenance, and you don’t need a mechanic’s toolkit to do it.
Cleaning Your Blender the Right Way
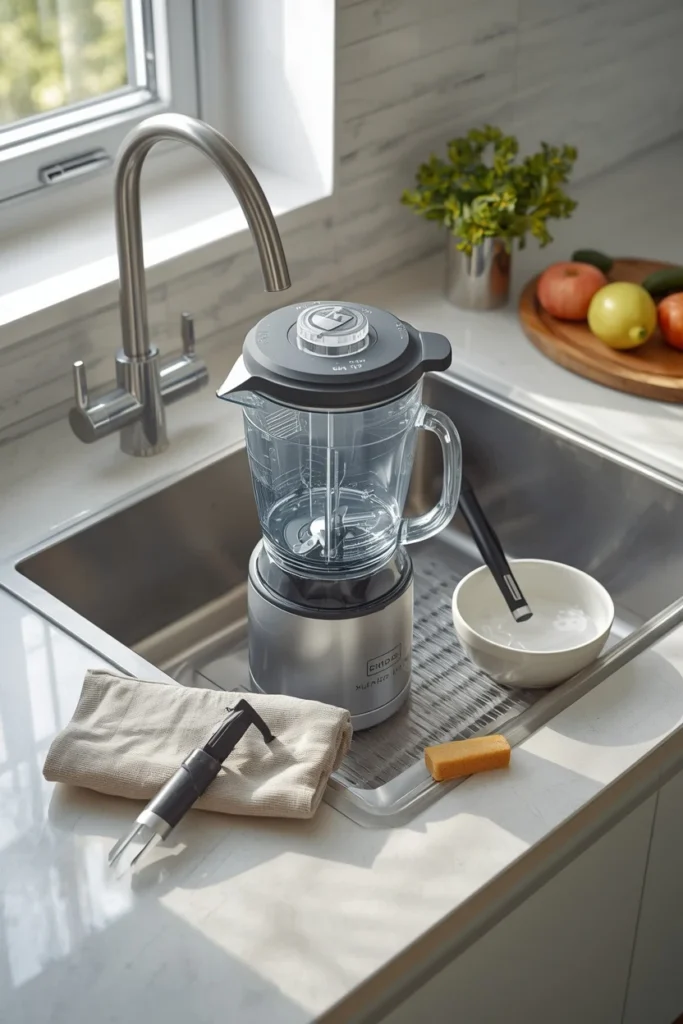
Here’s a hot take: rinsing your blender jar under the tap and calling it “clean” is not actually cleaning it.
That approach leaves residue on the blades and in the crevices where the blade assembly meets the jar, and that residue eventually turns into gunk that dulls your blades over time.
The Self-Cleaning Trick Everyone Should Use
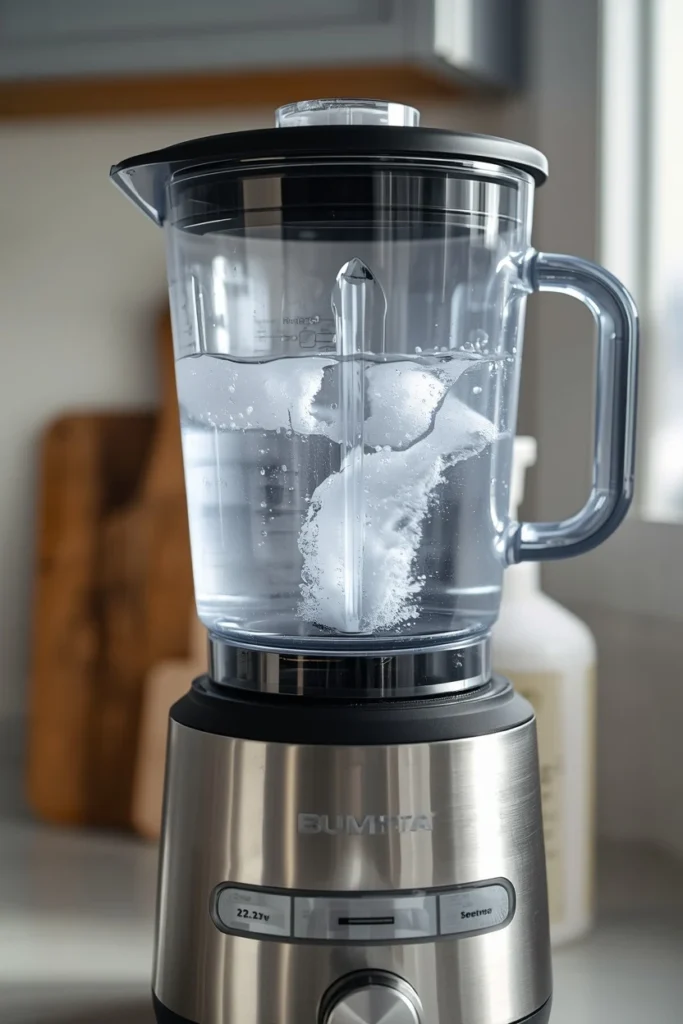
Fill the jar halfway with warm water, add a small drop of dish soap, and run the blender on high for about 30 seconds. This simple move cleans the blades from every angle, including spots your sponge could never reach.
I do this after literally every use now, and it takes less time than rinsing dishes by hand. Consistency here matters more than intensity. A quick clean every time beats a deep scrub once a month.
Deep Cleaning Once a Week
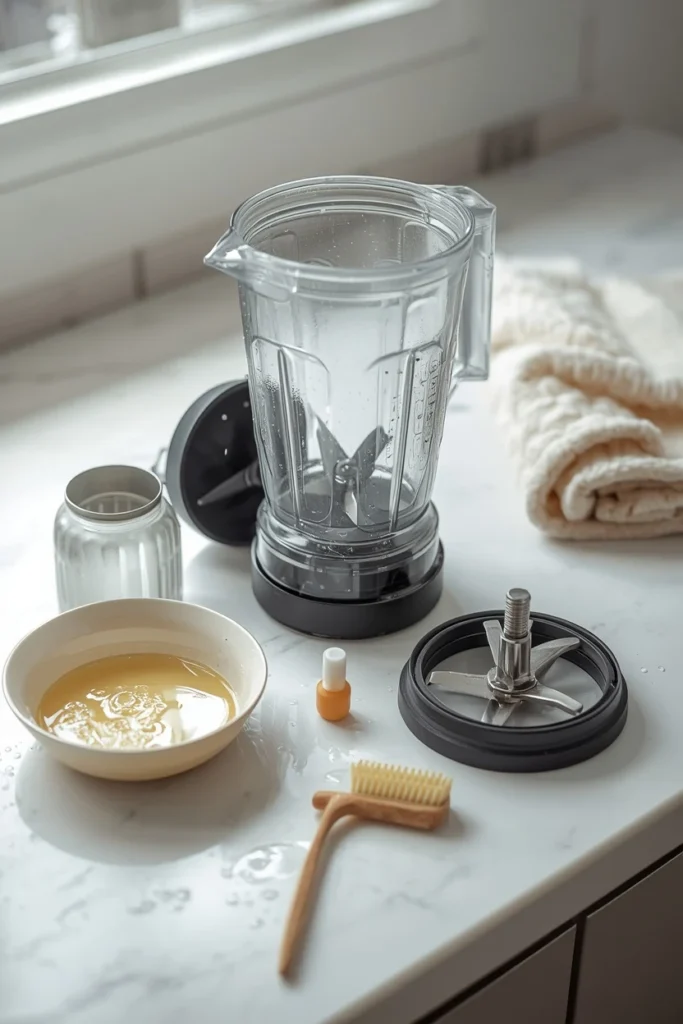
Even with daily quick cleans, buildup can creep in around the blade base. Once a week, take a few extra minutes to do this properly.
- Unplug the blender before touching anything near the blades
- Remove the jar from the base and detach the blade assembly if your model allows it
- Soak the blade assembly in warm soapy water for 10 minutes
- Use a soft brush (an old toothbrush works great) to scrub around the blade edges and rubber gasket
- Rinse thoroughly and let everything air dry completely before reassembling
Skipping the drying step is a rookie mistake. Trapped moisture around metal parts invites rust, and rust is basically kryptonite for blender blades.
Keeping Your Blades Sharp Longer
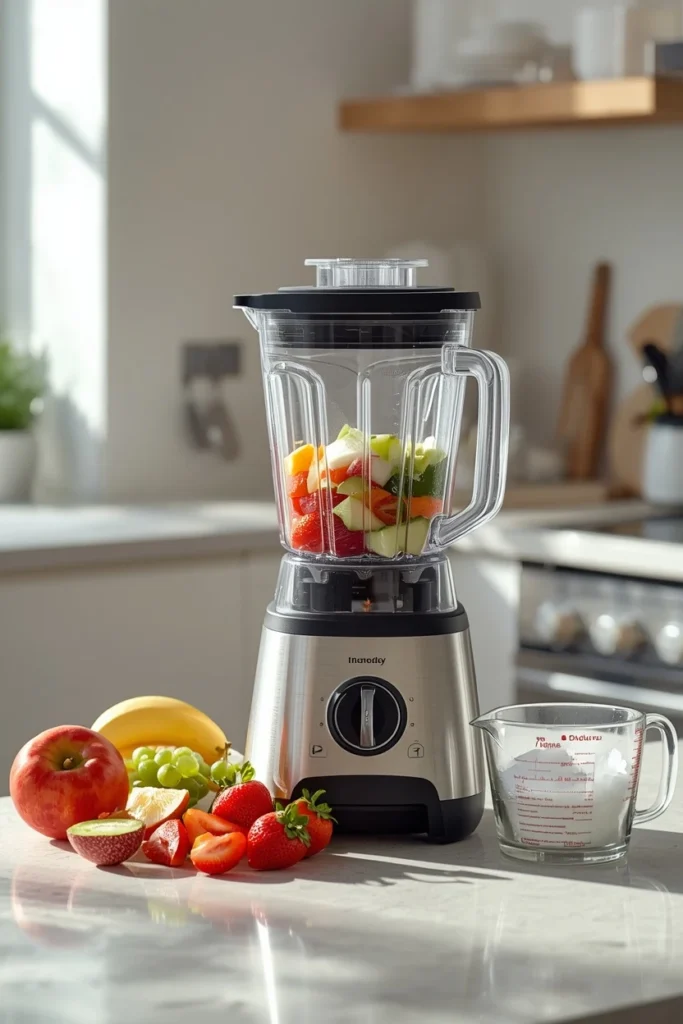
Blender blades aren’t like kitchen knives you can casually sharpen on a whetstone.
Most modern blenders use blades designed to stay sharp through friction and design rather than manual sharpening, so your job is really about preventing premature dulling, not restoring an edge.
What Dulls Blades Faster Than You’d Think
- Blending ice without enough liquid to help the blades move freely
- Tossing in frozen fruit straight from a rock solid block instead of letting it soften slightly
- Using the blender for tasks it wasn’t built for, like grinding coffee beans in a smoothie blender
- Letting acidic ingredients like citrus sit in the jar for hours after blending
I once tried using my everyday blender to crush ice for a party, no liquid, just cranking away like it was a snow cone machine. Big mistake.
The blades sounded rough for weeks afterward, and I’m fairly sure that’s when the dulling really started.
Smart Habits That Protect the Edge
- Add liquid first, then solids, so the blades have something to move through
- Cut larger produce into smaller chunks before blending so the blades aren’t fighting oversized pieces
- Pulse tough ingredients instead of running one long continuous blend
- Avoid blending anything the manual specifically warns against (yes, people actually ignore this)
Ever wonder why some recipes tell you to add liquid before ice? It’s not just a suggestion, it genuinely protects your blades from unnecessary strain.
Protecting the Motor From Everyday Wear
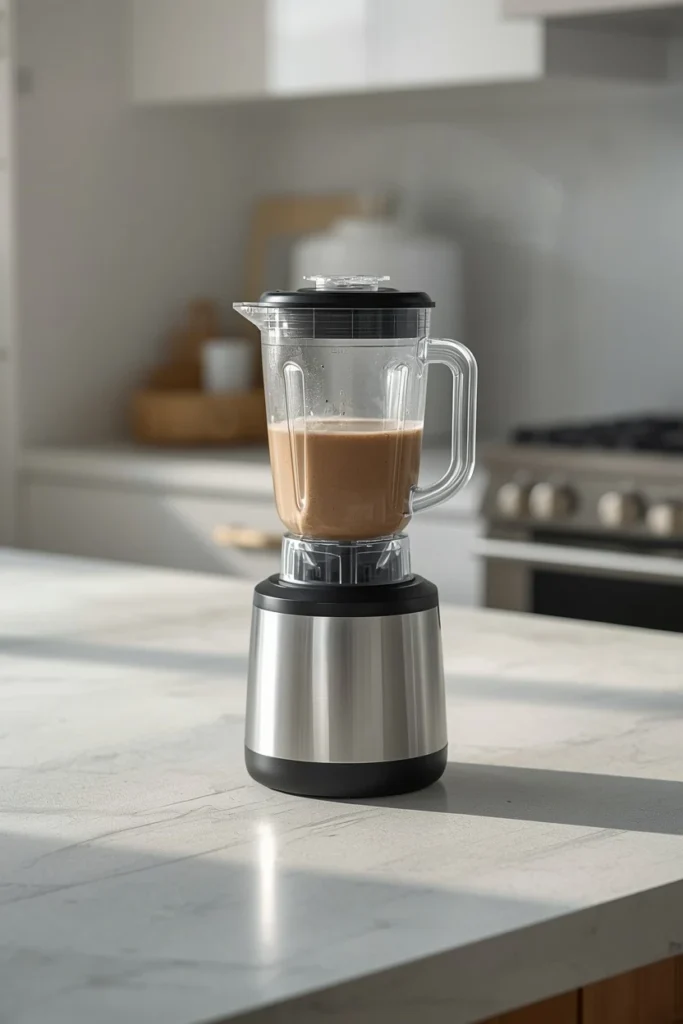
The motor is the heart of your blender, and honestly, it’s the part most people abuse without even realizing it. A strong motor doesn’t fail because of one bad blend. It fails because of dozens of small mistakes stacked over months.
Don’t Overload the Jar
Cramming your jar to the very top might feel efficient, but it forces the motor to work overtime. Overloading is one of the fastest ways to burn out a motor, especially on blenders that aren’t rated for heavy duty use.
Stick close to the max fill line printed on your jar. If a recipe makes more than that, blend it in two batches instead of forcing one massive load through.
Give It Breaks During Long Blends
Running your blender nonstop for several minutes straight, especially on thick mixtures like nut butter or frozen desserts, can overheat the motor.
Most manufacturers recommend blending in short bursts rather than one continuous marathon session.
- Blend for 30 to 60 seconds, then pause for a few seconds
- Let the motor rest for a couple minutes if you notice it getting warm to the touch
- Avoid back to back heavy blends without a short cooldown period in between
I know pausing feels annoying when you’re hungry and just want your smoothie now, but a 20 second break genuinely extends motor life. Trust me, future you will appreciate the patience.
Watch Where You Place It
Believe it or not, blender placement affects motor health too. Keep your blender away from stoves, ovens, and other heat sources, since excess ambient heat makes it harder for the motor to cool down properly after use.
Also, always place your blender on a flat, stable surface. A wobbly countertop forces the motor to compensate for vibration, and that adds unnecessary strain over time.
Storage and Handling Tips That Extend Lifespan
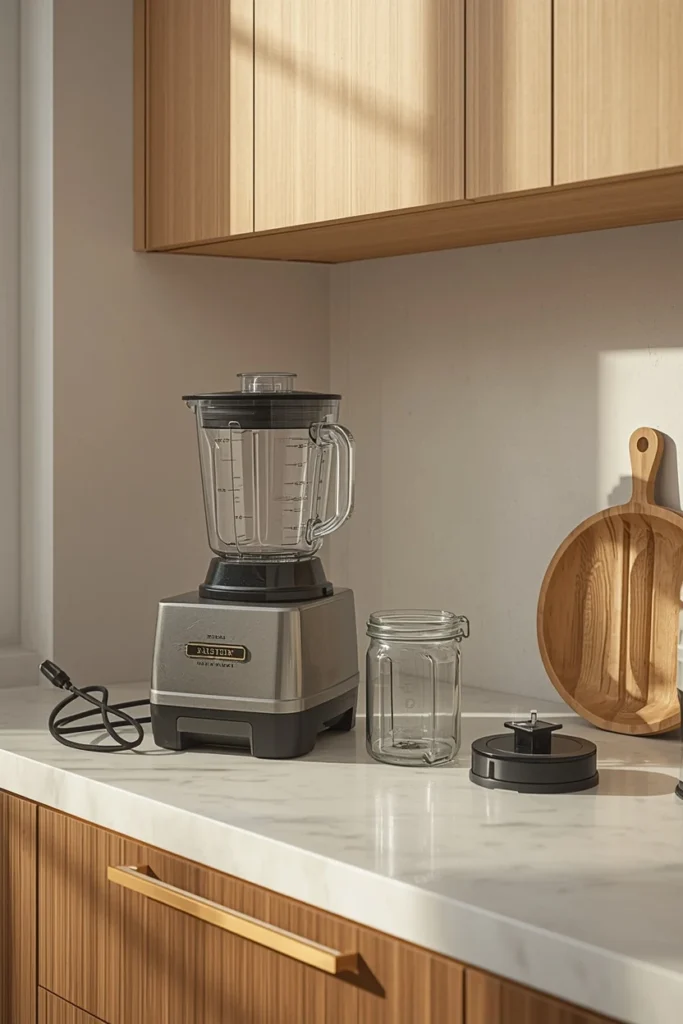
How you store your blender between uses matters more than most people assume. A blender that gets tossed into a cluttered cabinet or left with a damp jar sealed on top is quietly working against itself.
- Store the jar separately from the base when possible to let both dry fully
- Avoid stacking heavy items on top of the base, which can damage internal components
- Keep the power cord loosely coiled instead of tightly wrapped, since tight wrapping stresses the wiring
- Check the blade assembly and gasket every few months for cracks or wear
I keep my blender assembled but with the lid off between uses. It airs out properly and I’m not fumbling around trying to find the base at 7am before coffee. Small convenience, big difference.
Signs Your Blender Needs Attention
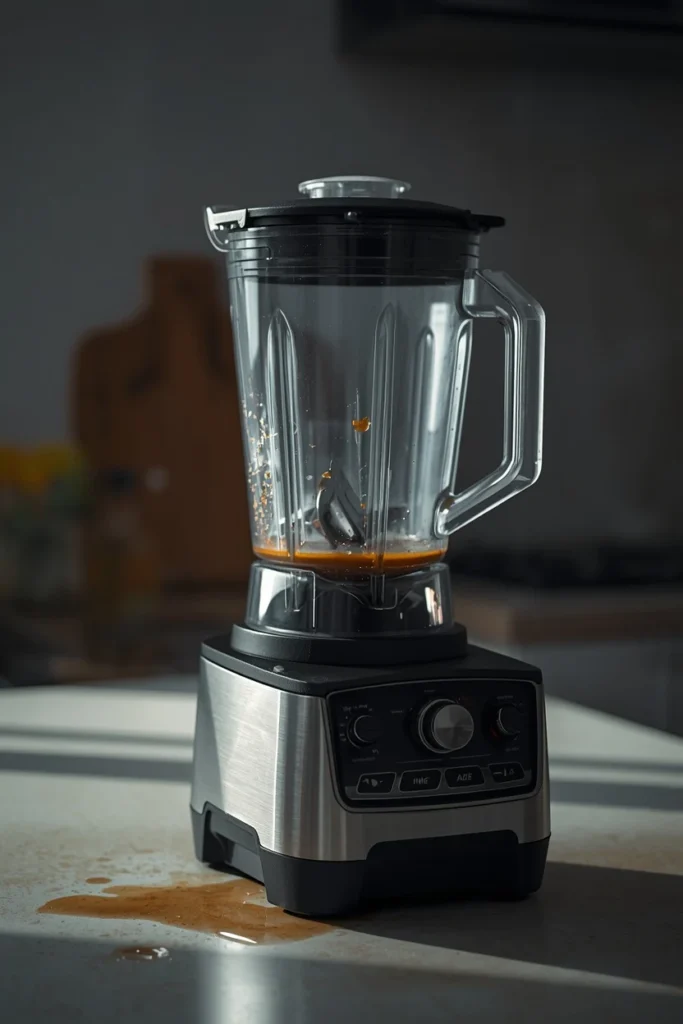
Sometimes maintenance isn’t enough, and your blender is trying to tell you something. Pay attention to these warning signs before a small issue becomes a full breakdown.
- Unusual grinding or rattling noises during normal blending
- A noticeable burning smell, which almost always points to motor strain
- Leaking liquid from the base of the jar during use
- Blades that spin unevenly or feel loose when you touch the assembly (unplugged, obviously)
If you notice any of these, stop using the blender and inspect it before your next smoothie session. Pushing through these warning signs rarely ends well, and it definitely won’t end cheap.
Final Thoughts
Keeping your blender’s blades sharp and its motor strong really comes down to a handful of consistent habits.
Clean it properly after every use, avoid overloading the jar, give the motor breathing room during tough blends, and store everything with a little care.
None of this requires special tools or hours of your time, just a bit of awareness while you’re already in the kitchen.
Your blender pulls its weight every single day, so give it the five minutes of attention it deserves. Treat it well, and it will likely outlast half the other appliances in your kitchen, no sarcasm intended this time.
How Often Should I Clean My Blender?
Clean it after every single use with a quick warm water and soap rinse cycle, and do a deeper clean of the blade assembly once a week.
This habit prevents residue buildup that dulls blades and clogs the base over time.
Can Blender Blades Be Sharpened At Home?
Most modern blender blades aren’t designed for manual sharpening like kitchen knives.
Instead, focus on preventing premature dulling by adding liquid before solids, avoiding dry ice crushing, and cutting large produce into smaller pieces.
Why Does My Blender Motor Smell Like It’s Burning?
A burning smell almost always signals motor strain, usually from overloading the jar or running long continuous blends without breaks.
Stop using the blender immediately, let it cool, and check the fill level before your next use.
How Long Should A Blender Motor Last With Proper Care?
A well maintained blender motor can easily last five to ten years, depending on the brand and how often it’s used.
Overloading, skipping cooldown breaks, and ignoring warning noises are the fastest ways to cut that lifespan short.
Should I Store The Blender Jar Attached To The Base?
It’s better to store the jar separately or at least leave the lid off between uses so both pieces can dry fully.
Trapped moisture around the blade assembly invites rust, which speeds up dulling and can damage the gasket over time.