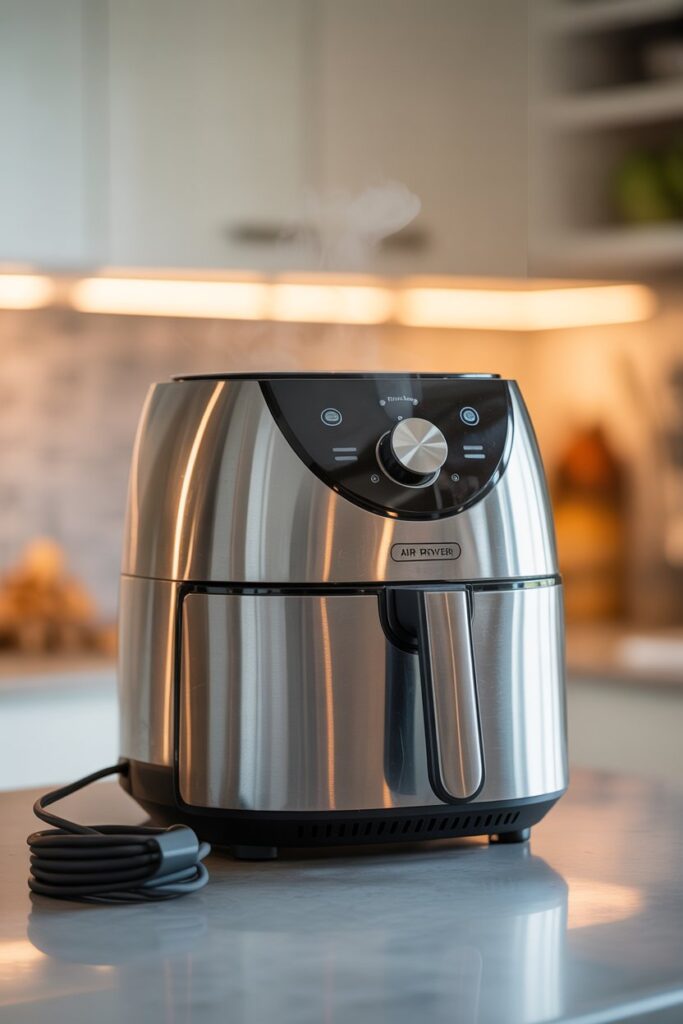
Your air fryer used to smell like crispy fries and golden chicken. Now it smells… suspicious. If you’ve ever opened it and thought, “When did this turn into a science experiment?” you’re in the right place.
I use my air fryer almost daily, and I learned the hard way that ignoring cleanup leads to smoke, weird smells, and food that tastes like last week’s salmon.
So let’s fix that. Here’s how to clean an air fryer step by step, without stress and without turning it into a full-day project.
Why Cleaning Your Air Fryer Actually Matters
You might think, “It still works, so why bother?” Fair question.
But grease builds up fast. Crumbs hide under the basket. Oil splatters cling to the heating element. When you ignore that buildup, your air fryer can:
- Smoke during cooking
- Produce burnt smells
- Cook food unevenly
- Shorten its own lifespan
I once skipped cleaning mine for a week. The next time I cooked chicken wings, smoke filled the kitchen like I hosted a barbecue indoors. Lesson learned.
If you want crispy food and zero drama, you need a simple cleaning routine.
What You Need Before You Start

Before you jump into cleaning your air fryer step by step, grab a few basic supplies. Nothing fancy.
Basic Cleaning Supplies
- Mild dish soap
- Warm water
- Soft sponge or non-abrasive cloth
- Soft-bristle brush or old toothbrush
- Microfiber cloth
- Paper towels
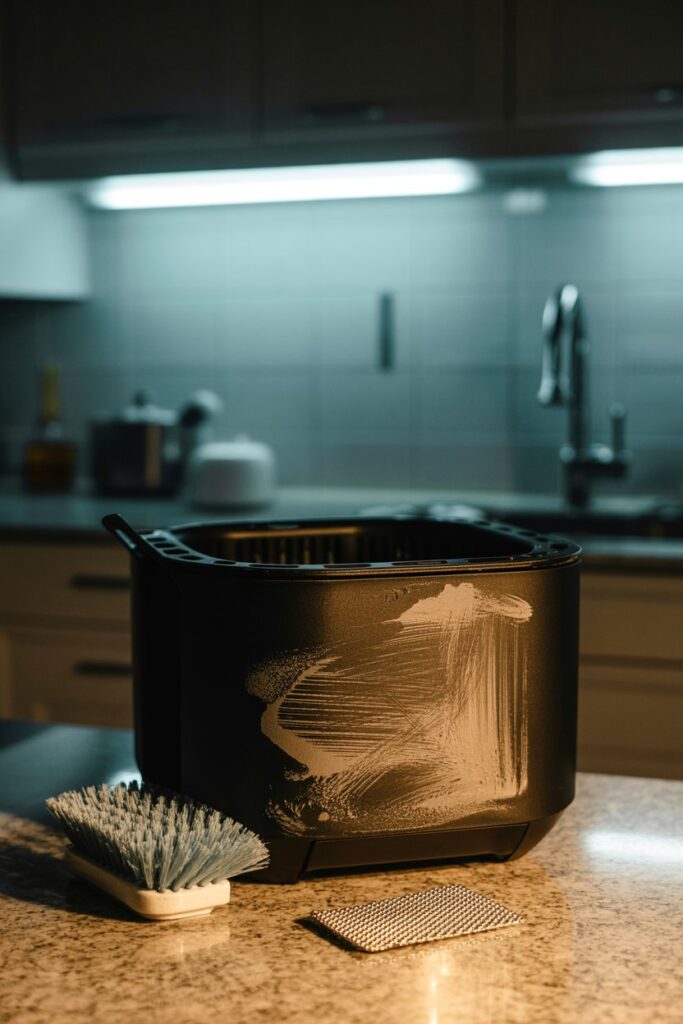
Avoid steel wool. Avoid harsh chemicals. Avoid anything that scratches. You want your air fryer clean, not scarred.
Step 1: Unplug and Cool It Down
This sounds obvious, but you’d be surprised.
Always unplug your air fryer before cleaning it. Let it cool completely. Hot heating elements and water do not mix well.
I usually wait 20 to 30 minutes after cooking. Touch the inside lightly. If it feels warm, wait longer. Why rush and risk a burn?
Step 2: Remove the Basket and Tray

Once it cools, pull out the basket and any removable trays.
Most air fryers have dishwasher-safe parts. Check your manual to confirm. Even if the label says dishwasher-safe, I prefer handwashing. Why? Dishwashers can dull nonstick coatings over time.
How to Wash the Basket Properly
- Fill your sink with warm soapy water.
- Soak the basket for 10 to 15 minutes.
- Scrub gently with a soft sponge.
- Use a toothbrush for tight corners.
- Rinse and dry completely.
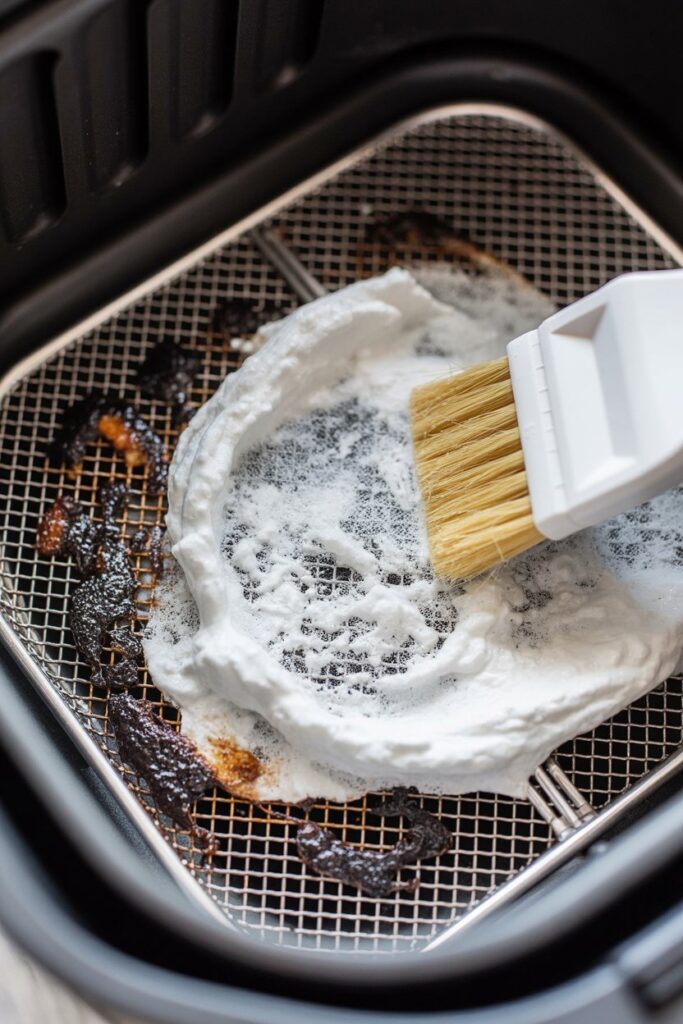
If grease sticks stubbornly, sprinkle baking soda on the area and scrub lightly. That trick saved me more than once.
Shop Nonstick Air Fryer Basket
Step 3: Clean the Inside of the Air Fryer
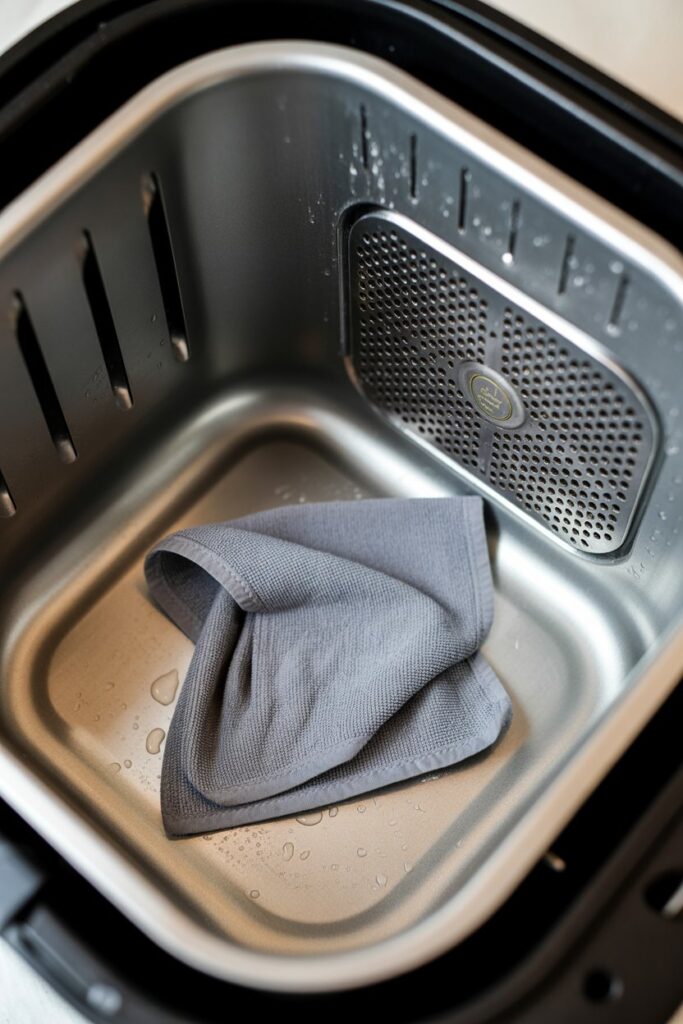
Now let’s tackle the interior.
Turn the air fryer upside down if you can safely do so. This gives you a better view of the heating element. Ever noticed how much grease collects there? It hides in plain sight.
Wipe Down the Interior
- Dampen a cloth with warm soapy water
- Wipe the walls gently
- Remove grease spots carefully
- Avoid soaking any electrical components
Never pour water directly into the unit. You clean it, you do not baptize it.
Clean the Heating Element
This part matters more than people realize.
Use a slightly damp cloth or soft brush to gently clean the heating element. Remove food splatters and grease buildup.
If you skip this step, burnt residue will smoke during your next cooking session. Want that smoky aroma on your cinnamon rolls? I didn’t think so.
Buy Soft-Bristle Cleaning Brush
Step 4: Wipe the Exterior
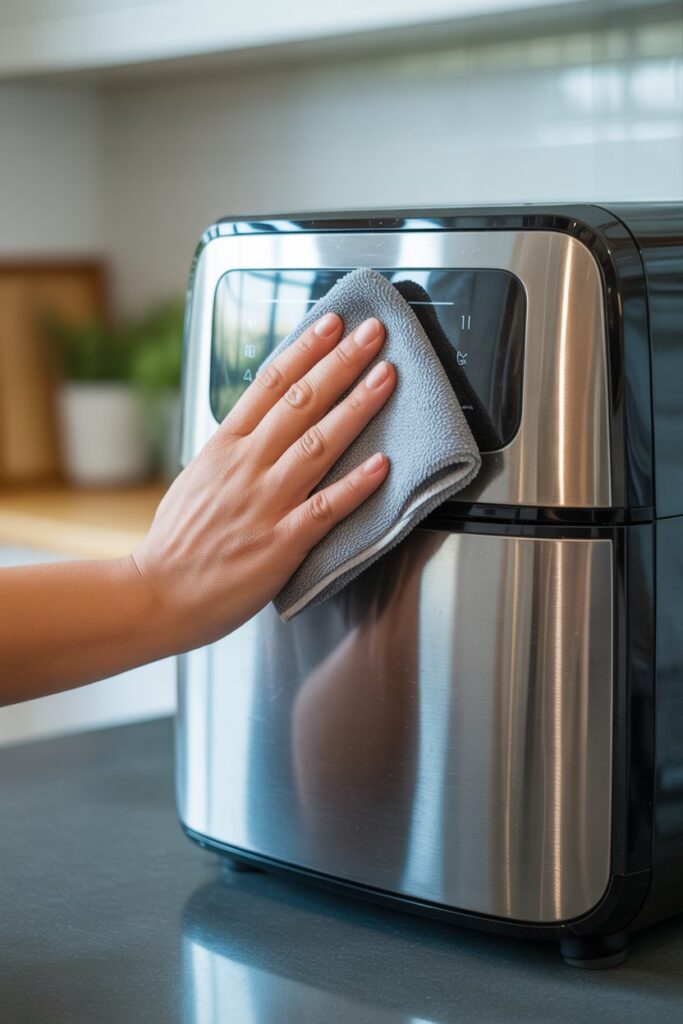
Your air fryer’s outside deserves attention too.
Greasy fingerprints collect on the handle and control panel. I see this especially if I cook with oily foods like chicken thighs.
Exterior Cleaning Tips
- Use a damp microfiber cloth
- Wipe gently around buttons
- Dry immediately with a clean cloth
Never spray cleaner directly onto the air fryer. Spray onto the cloth first. Electronics and liquid do not get along.
Step 5: Dry Everything Completely
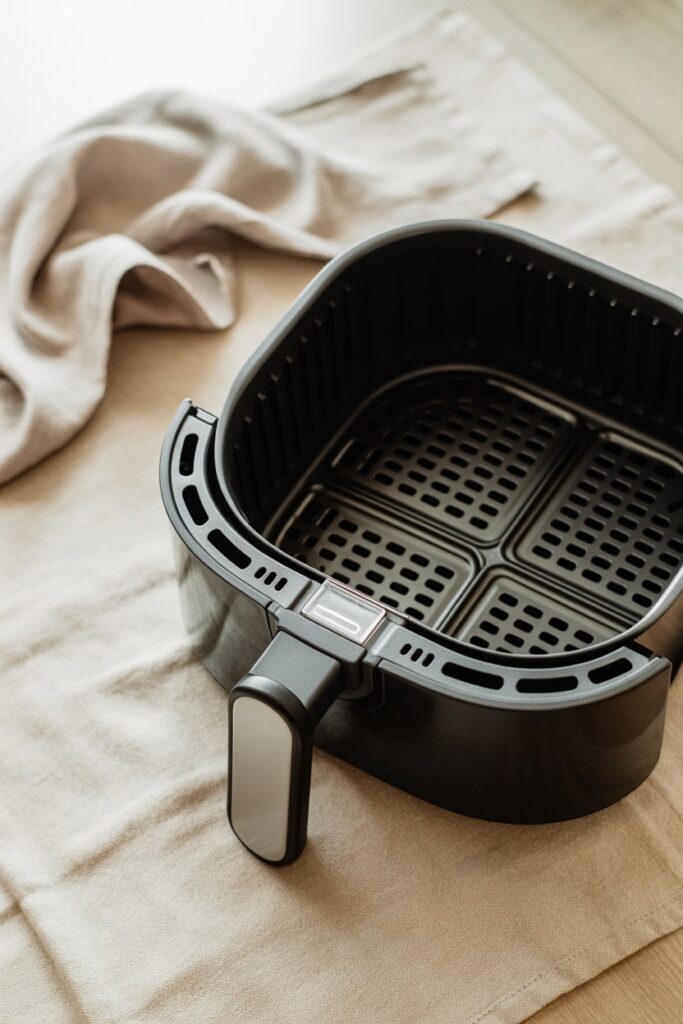
Moisture causes problems. Rust forms. Electrical issues pop up. You want none of that.
Let all removable parts air dry or wipe them dry with a clean towel. Make sure everything feels completely dry before reassembling.
I usually leave the basket out for another 20 minutes just to be safe. A little patience beats buying a new air fryer.
Get Premium Drying Rack
How Often Should You Clean an Air Fryer?
Now you might ask, “Do I have to do this every single time?”
Short answer: almost.
After Every Use
- Wash the basket and tray
- Wipe out visible grease
- Remove crumbs
This takes five minutes. Five. You spend more time choosing what to watch on TV.
Weekly Deep Clean
Once a week, do a more thorough cleaning:
- Clean the heating element
- Wipe the entire interior
- Inspect for grease buildup
If you cook daily like I do, this routine keeps everything fresh and smoke-free.
How to Remove Stubborn Grease from an Air Fryer
Sometimes grease clings like it owns the place.
When that happens, try this method:
- Mix baking soda with a little water to form a paste.
- Apply it to greasy spots.
- Let it sit for 15 minutes.
- Scrub gently with a soft brush.
- Wipe clean with a damp cloth.
The paste lifts grease without damaging the nonstick surface. I use this trick after cooking bacon. It works every time.
What Not to Do When Cleaning an Air Fryer
Cleaning your air fryer step by step sounds simple, but people still make mistakes.
Avoid These Common Errors
- Do not submerge the main unit in water
- Do not use metal utensils to scrape residue
- Do not use harsh oven cleaners
- Do not reassemble while parts are wet
These mistakes damage the coating and shorten your air fryer’s life. Why ruin a good appliance over impatience?
Does Cleaning Improve Performance?
Absolutely.
When you clean your air fryer regularly:
- Air circulates better
- Food cooks evenly
- Flavors stay clean
- Smoke decreases
I noticed crispier fries after I started cleaning the heating element weekly. That alone convinced me to stay consistent.
A clean air fryer works like new. A dirty one struggles quietly until it embarrasses you in front of guests.
Quick Daily Cleaning Routine for Busy Days
Some days you feel tired. I get it.
On busy nights, I follow this fast routine:
- Empty crumbs immediately
- Wipe the basket while still slightly warm
- Clean visible grease from the interior
- Leave the basket to air dry overnight
This takes under five minutes. You avoid buildup and save yourself from a future deep-clean marathon.
Shop Silicone Air Fryer Liners
Extra Tip: Use Liners Carefully
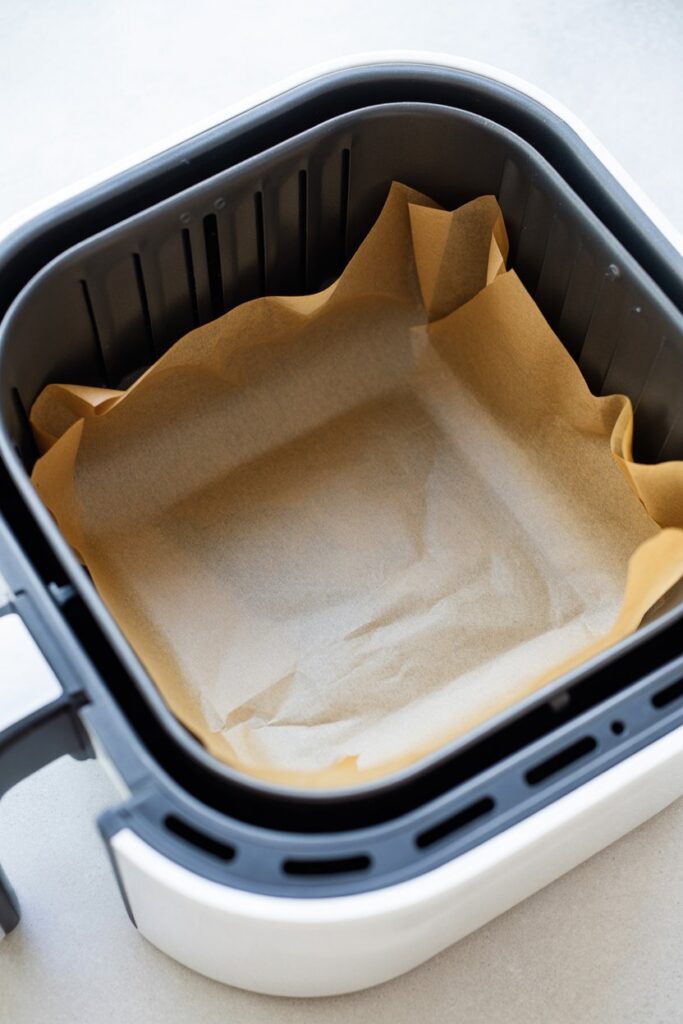
Many people use parchment liners or silicone inserts.
They reduce mess, but they do not eliminate cleaning. Grease still splashes around. Crumbs still sneak underneath.
If you use liners, always check under them after cooking. Otherwise, you trap grease where you cannot see it. And we both know hidden grease never ends well.
Buy Heat-Resistant Parchment Paper
How to Keep Your Air Fryer Smelling Fresh
Ever opened your air fryer and caught a lingering fish smell from three days ago?
To prevent odors:
- Clean it right after cooking strong-smelling foods
- Wipe the heating element weekly
- Leave the basket out to air occasionally
You can also wipe the interior with a cloth dipped in a mixture of water and a splash of vinegar. That neutralizes odors naturally.
I learned this after reheating donuts that somehow tasted like salmon. Never again.
Final Thoughts on Cleaning an Air Fryer Step by Step
Cleaning your air fryer does not require special tools or hours of effort. You just need consistency. Unplug it, wash the basket, wipe the interior, clean the heating element, and dry everything completely.
When you follow this step by step air fryer cleaning guide, you protect your appliance, improve cooking performance, and keep flavors fresh. You also avoid random smoke alarms and mysterious smells.
So next time you finish cooking those crispy fries, take five minutes and clean it. Future you will thank you. And your cinnamon rolls will finally taste like cinnamon instead of last week’s dinner.
How Often Should You Clean an Air Fryer?
You should clean the basket and tray after every use. Grease and crumbs build up quickly, and even one skipped cleaning can cause smoke and lingering odors. A quick wash takes only a few minutes and prevents bigger problems later.
You should also deep clean the interior and heating element once a week if you cook frequently. Regular cleaning keeps airflow strong, improves crispiness, and extends the life of your appliance.
Can You Put Air Fryer Parts in the Dishwasher?
Many air fryer baskets and trays are labeled dishwasher safe, but handwashing protects the nonstick coating longer. Dishwashers use high heat and strong detergents that can wear down surfaces over time.
If you choose to use the dishwasher, place the parts on the top rack and avoid harsh cycles. When possible, wash with warm soapy water for better long-term durability.
How Do You Remove Burnt Grease from an Air Fryer?
Burnt grease responds well to a baking soda paste. Mix baking soda with a small amount of water, apply it to the affected area, and let it sit for about 15 minutes. Scrub gently with a soft brush and wipe clean.
Avoid metal scrubbers or harsh chemicals because they damage the nonstick surface. A gentle approach removes grease while keeping your air fryer in great condition.
Why Does My Air Fryer Smoke While Cooking?
Smoke usually comes from leftover grease or food particles stuck to the heating element or interior walls. When old residue heats up, it burns and produces smoke.
You can prevent this by cleaning your air fryer step by step after each use and wiping the heating element weekly. Clean surfaces mean cleaner cooking and zero surprise smoke.
Can You Clean the Heating Element of an Air Fryer?
Yes, you should clean the heating element regularly. Always unplug the unit and let it cool completely before touching this area. Turn the appliance upside down to access the element safely.
Use a slightly damp cloth or soft brush to remove grease and splatters. This step improves airflow and prevents burnt smells during cooking.